This Photo, #6

This Photo, #6

Two years ago, at dawn on a cold December morning, I visited Natural Dam and made one of my favorite photographs ever. There was a fog rising from the water, and the sun was just about to rise, and the fog glowed in the pre-dawn light.

December Sunrise

This was the first photo I made that morning, and after I tried some different compositions and exposures, I moved on to different locations around the waterfall. This is my normal approach – to look at a scene, and to explore different viewpoints.  Eventually, I saw this scene… Continue reading

Advertisement
Some Thoughts About… Polarizing Filters

Some Thoughts About… Polarizing Filters

A frequent question I hear is “is there a filter that will help me __ __ __?”  Often, the answer is no.  However, a Polarizing Filter is the one I encourage most people to acquire.  Here are some basic tips and thoughts about this accessory…

The Polarizing Filter:  A Nature Photographer’s Best Friend

The one accessory I always make certain is in the bag.

Grand Canyon 09845

Grand Canyon, 2013 The polarizing filter helped separate and emphasize the clouds, and deepen the blue skies


Why use a polarizer

If you want to see your outdoor photographs really “pop,” this is the answer.  A polarizing filter changes how you see the light that is being reflected from objects in the scene you are photographing.  If your photograph includes water, it becomes clearer; if there are wet rocks, suddenly you see the rocks and not the light reflected from the moisture.  If there are blue skies with puffy white clouds, the sky becomes bluer and the clouds whiter and more distinct.  If your photograph includes vegetation, the color of the foliage is made richer – think fall foliage.

When to use a polarizer:

Get out your polarizing filter when you photograph:

Falling Water Falls

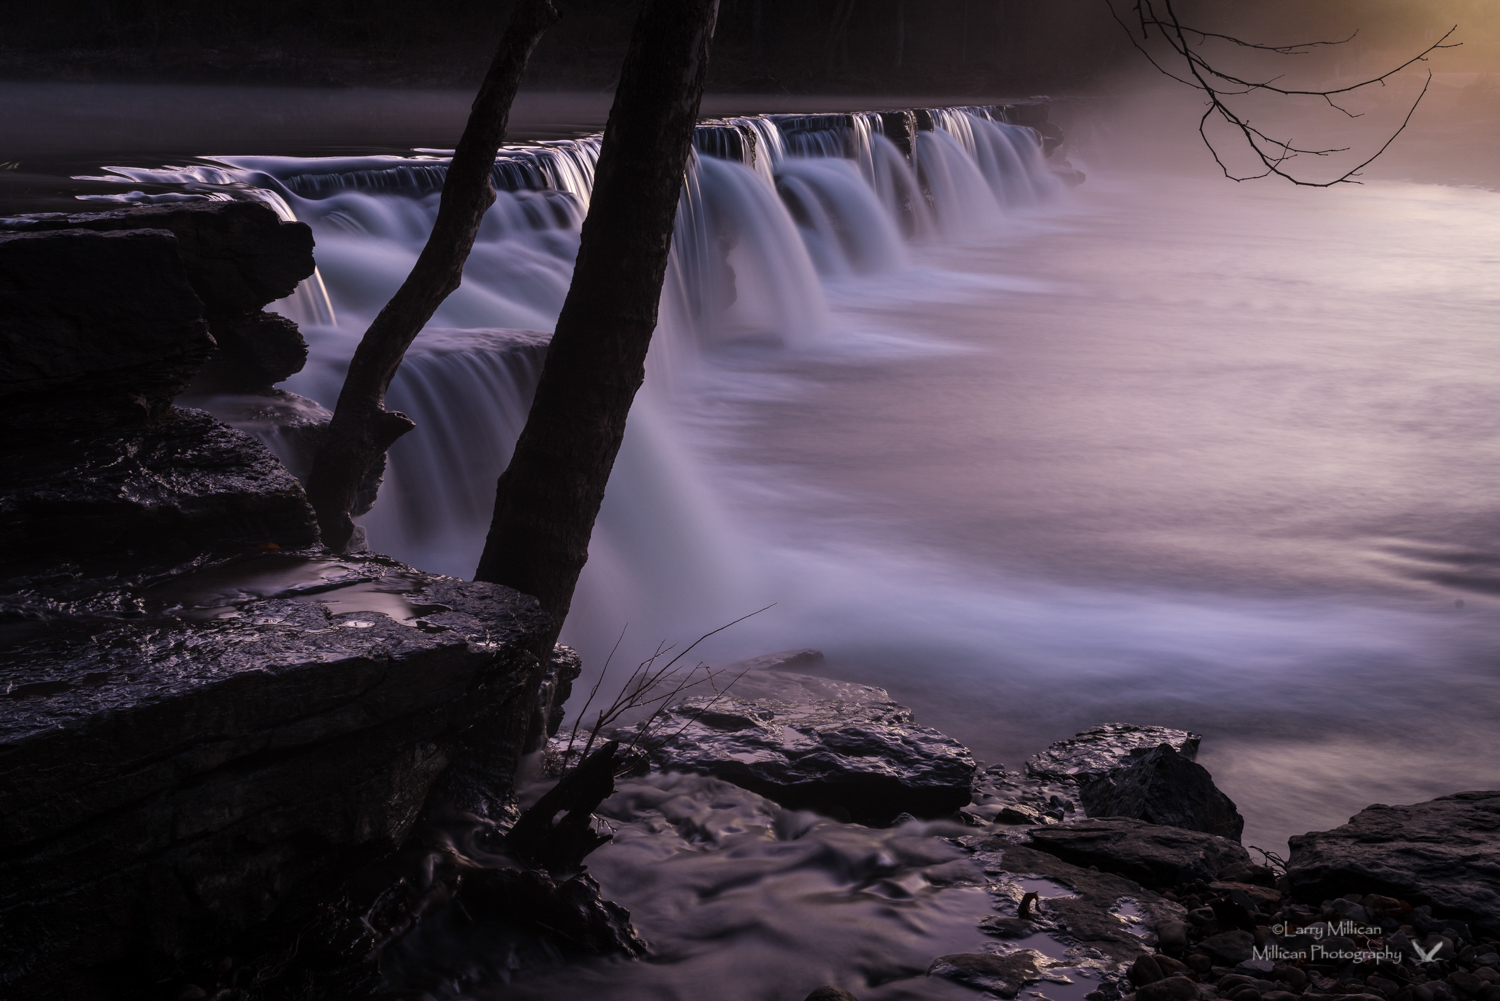
Falling Water Falls, October, 2013

Water, waterfalls, wet rocks, lakes and oceans;

Landscapes, especially with blue sky and white clouds;
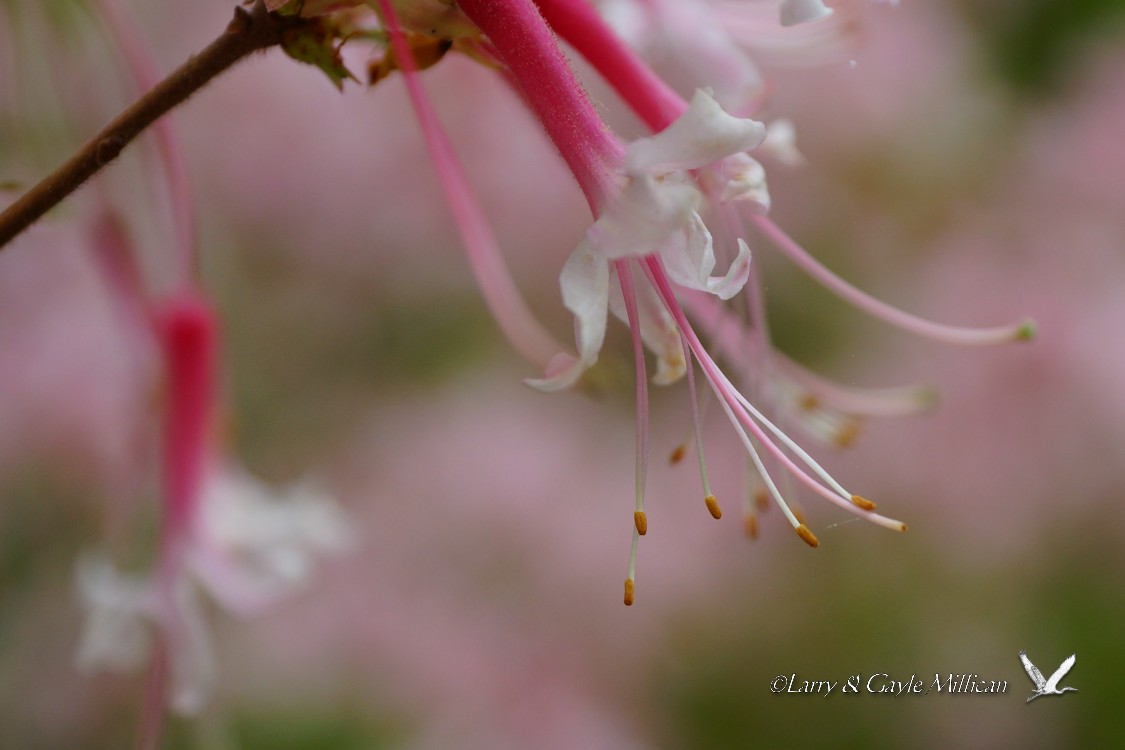
Fall foliage;

Or need to slow the shutter speed

Jack_Creek_04534

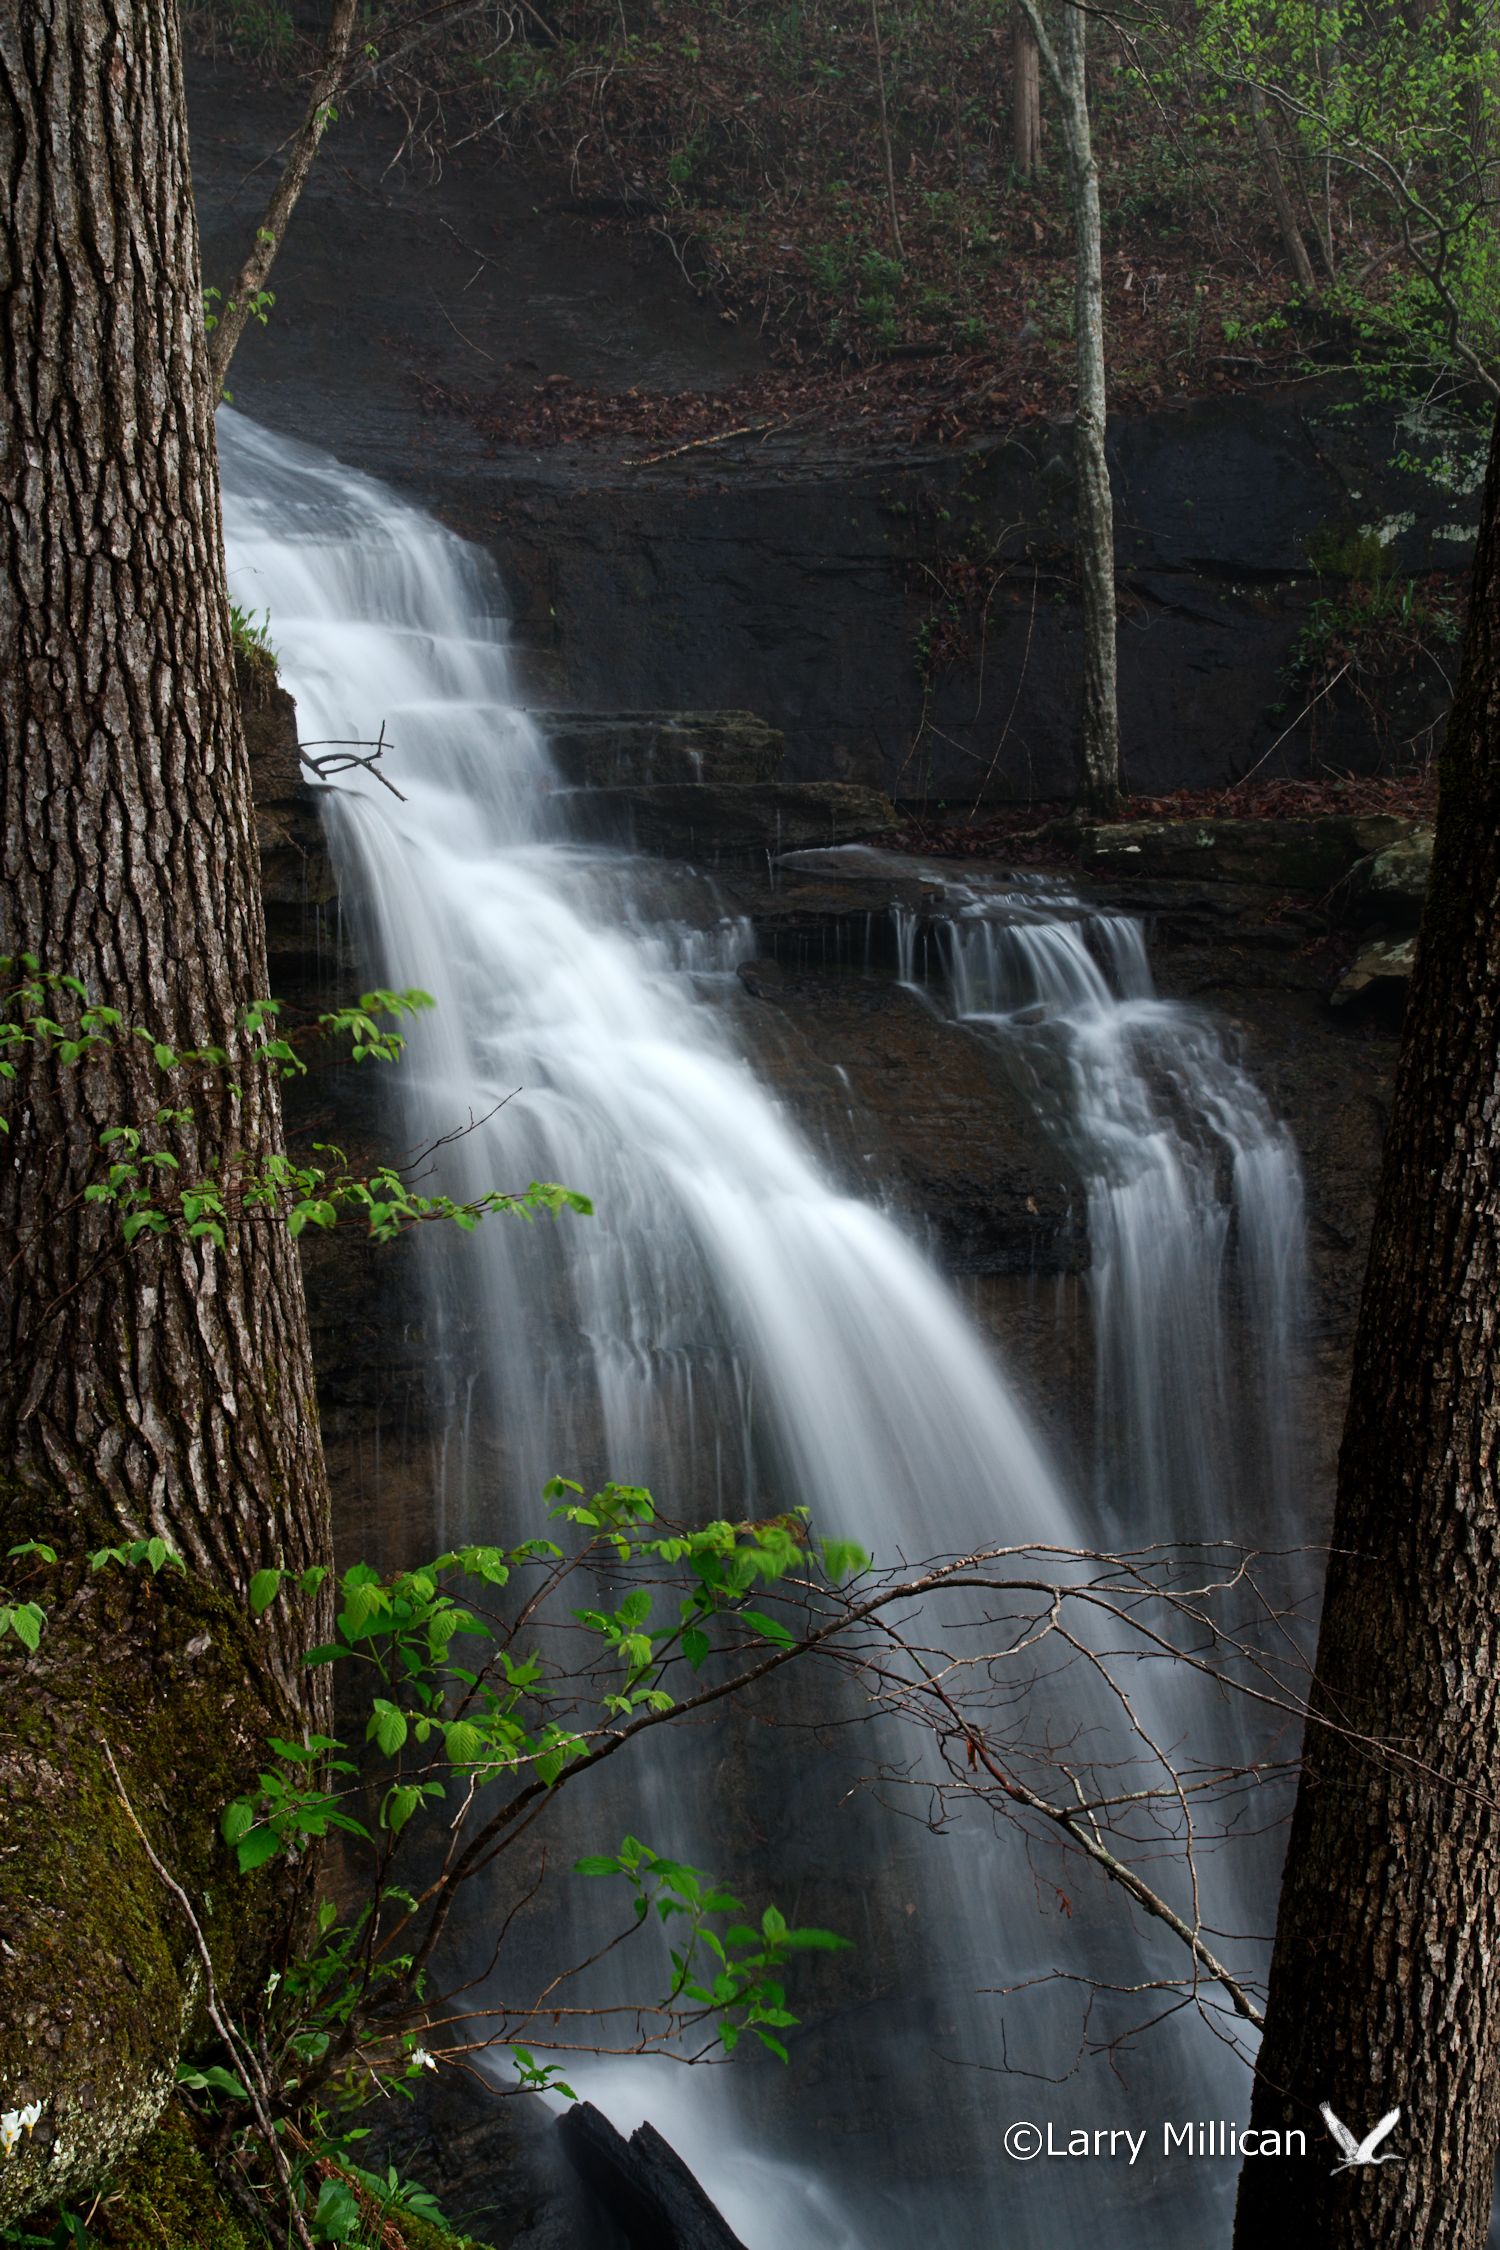
Jack Creek, Ouachita National Forest, Arkansas

How to use the polarizer

The greatest amount of polarization occurs at a 90° angle to the sun; but, that does not mean you only use it at that angle.  Rather, it just means you will see the effect lessening as you move the camera more toward or away from the sun.  If the sun is in the frame, or directly at your back, you will essentially see no effect.  So, with that in mind:

  1. With the polarizing filter in place, frame your image and focus.  Then, slowly turn the outer ring of the filter.  As you do so, you will see the effect on your image increase or decrease.  When you like what you see, stop the rotation and press the shutter button.
  2. Take caution:  if you are using a wide angle lens and have the blue sky in your frame, the effect will be uneven across the image, making the sky look unnatural.
  3. If you are shooting at high elevation, the air is thinner, making skies a deeper blue than at sea level, and the polarizing filter will make the sky very dark, almost black.
  4. In addition, pay attention to your exposure settings.  This filter reduces light to your camera by 1½ to 2 stops.  Your camera’s light meter will automatically compensate for this – usually by changing your shutter speed.  If you are hand-holding your camera, or if you are trying to stop motion, you may need to compensate with aperture and/or ISO settings to keep your image sharp.

One final note:  Unless you are using a pre-1970’s camera (or a view camera) be sure yours is a “circular polarizer.”  Occasionally, you will come across a “linear” polarizing filter.  This does not mean one is round and the other is not; this refers to the way they filter polarized light. Simply stated, the circular polarizing filter will work better with today’s cameras.

The polarizing filter:  one accessory I don’t leave home without.

Additional resources and references:

Bob Atkins:  http://www.bobatkins.com/photography/technical/polarizers.html

The Luminous Landscape:  http://www.luminous-landscape.com/tutorials/polarizers.shtml

Digital Photography School:  http://digital-photography-school.com/how-to-use-and-buy-polarizing-filters/

Garvan Woodland Gardens

In April this year, I visited Garvan Woodland Gardens, in Hot Springs, Arkansas.  My first time there, although it is a place high on my want-to-go-to list for some time.  Mid-April was a little late for the tulips, which are reportedly spectacular, but there was still lots of colorful flowers covering the grounds.

So here are a few selected photos.  Hope you enjoy!

Rhododendrons by the waterfall.

3064WaterfallAndRhododenrons

Garvan Woodland Gardens, small waterfall with rhododendrons.

Some remnants of tulips in front of red flowers (no – I don’t remember what they are.)

Tulip remnants with red flowers in the background.

Tulip remnants with red flowers in the background.

Along a path, there was a late blooming river of tulips.

A River of Tulips

A River of Tulips


Here is a tight crop of the tulips from the “river.”

The river of tulips, Garvan Woodland Gardens, Hot Springs, Arkansas

The river of tulips, crop, Garvan Woodland Gardens, Hot Springs, Arkansas

Closeup of rhododendrons.

Closeup of some rhododendrons, Garvan Woodland Gardens, Hot Springs, Arkansas

Closeup of some rhododendrons, Garvan Woodland Gardens, Hot Springs, Arkansas


The Gardens have flowers in bloom throughout the spring and summer, but are well known for their tulips displays in early spring.  Maybe next year…

Photos were all taken with the Sony Alpha 77, and the Sony 16-50 f/2.8 lens and the Minolta 100 f/2.8 macro lens.


Of Waterfalls and Wildflowers

In late March, I took a week off from work.  The first day, I went to see a waterfall along the Mulberry River.  It’s one of those only showy during the rainy season, and the week before, we had substantial rainfall; unfortunate for those on spring break, but a nice set up for waterfall hunters.  🙂  Three years ago, my friends Mike Leonard (www.michaelleonardphotography.org) and Jim Anderson showed this particular waterfall to us, and Gayle and I were fortunate to sell some prints from this location.

So, I drove there again this year.  Here’s what I found.

Image

To get to this spot requires a climb of about 150 feet up the side of the steep hill.  I think it’s worth the effort.  After a series of photos at this spot, I moved to the other side, and further up the hill:

Image

What I didn’t notice in this image were the white wildflowers at the lower left.  My excuse is that I was concentrating on the waterfall and on not falling!  It was steep and slippery…

So, recently, Mike Leonard was printing this photo for a display at Bedford’s, and pointed out the flowers to me.  I looked them up in Audubon’s Guide to North American Wildflowers on my iPhone.  They are “Eastern Shootingstar.”  I’d never taken a photo of them.  But – they bloom from April to June, so a few days ago, I went back to see if they had bloomed again.

Back up the hill.  This time, the waterfall was only a trickle.  No shootingstars bloomed.  Not surprised, but I was disappointed.  However, the spiderworts were in full bloom and everywhere!  🙂

Image

Spiderworts have long been a favorite of mine, and I seldom pass on an opportunity to photograph them.  After this photograph, and others, I headed back down the hill, then the short walk back to where I had parked.  Beside the road, so close that my tripod was partially in the road, was this little flower.

Image

Looks to me like a freshly bloomed Eastern Shootingstar!  There was only one bloom, but to the left are several buds.  I didn’t see any others in the area, nor during the walk back to the car.  So… my biggest disappointment that morning was that the enemy Time passed far too quickly.  🙂

All photos were taken with the Sony Alpha 77.  For the flowers, I used the Minolta 100mm macro lens; the waterfall photos were shot with a Tokina 11-16 f/2.8 and a Tamron 17-50 f/2.8 lens.