It is always fun to review the past year’s photos and choose my favorite 10; I hope they brighten up your day.
{Note: to view the image full-screen, click on the image; click your back button to return.}
_______________________________________________________
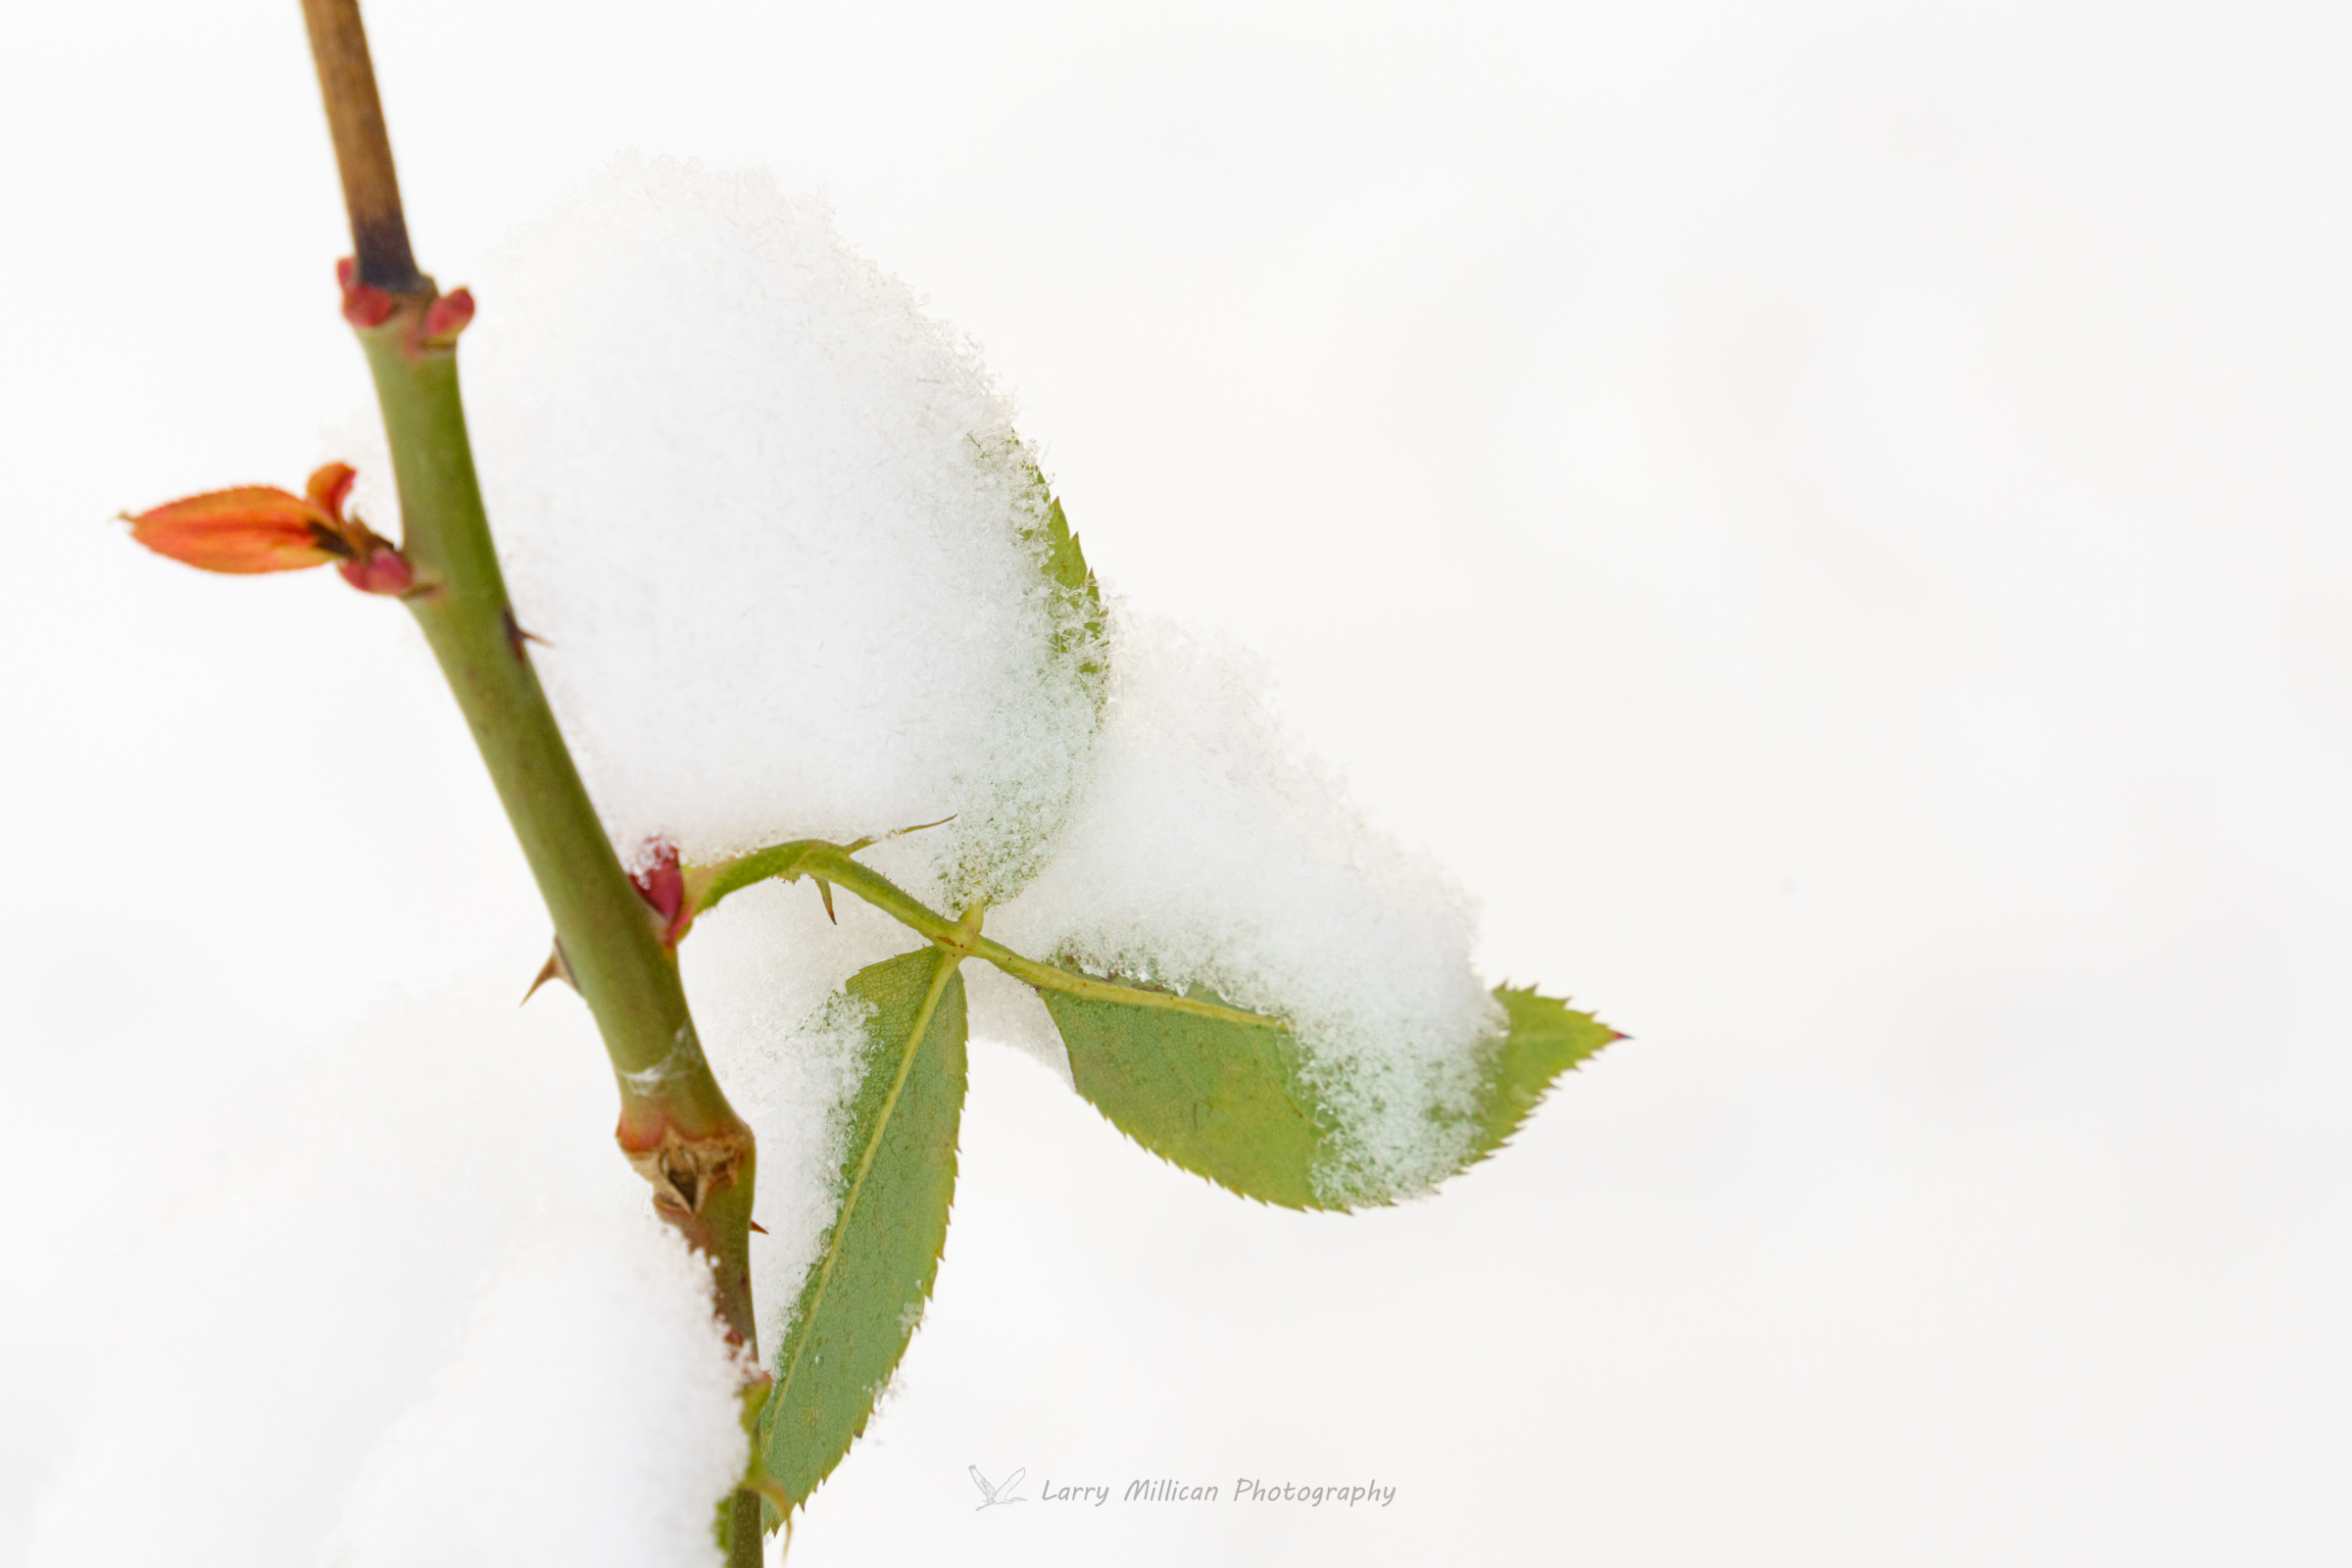
#1. January: Our first big snow
Blown snow tried to cover Sharon’s rose bush, already with green leaves and new growth…
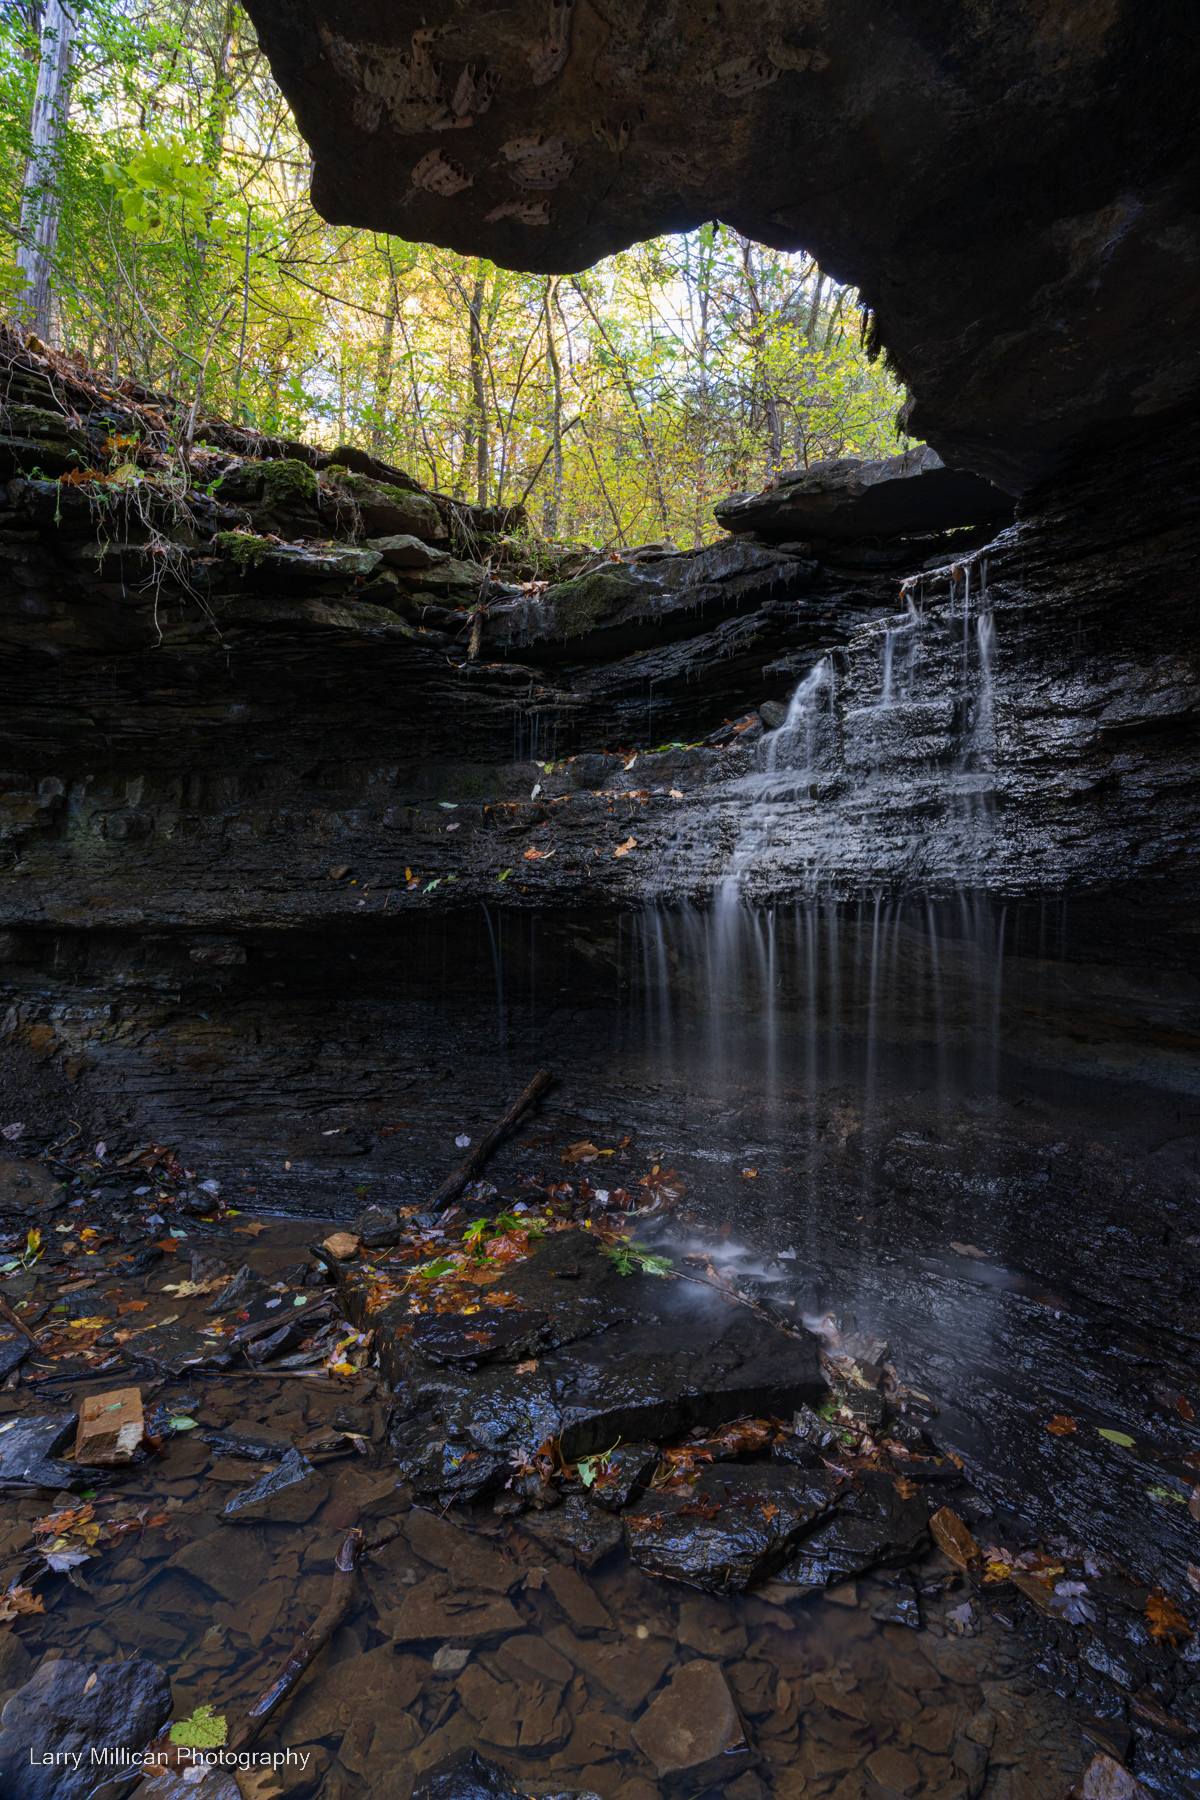
#2. February: Natural Dam
We visited Natural Dam in February, when the water was flowing well. For this image, I used the 28-200 lens to compress the scene a little.
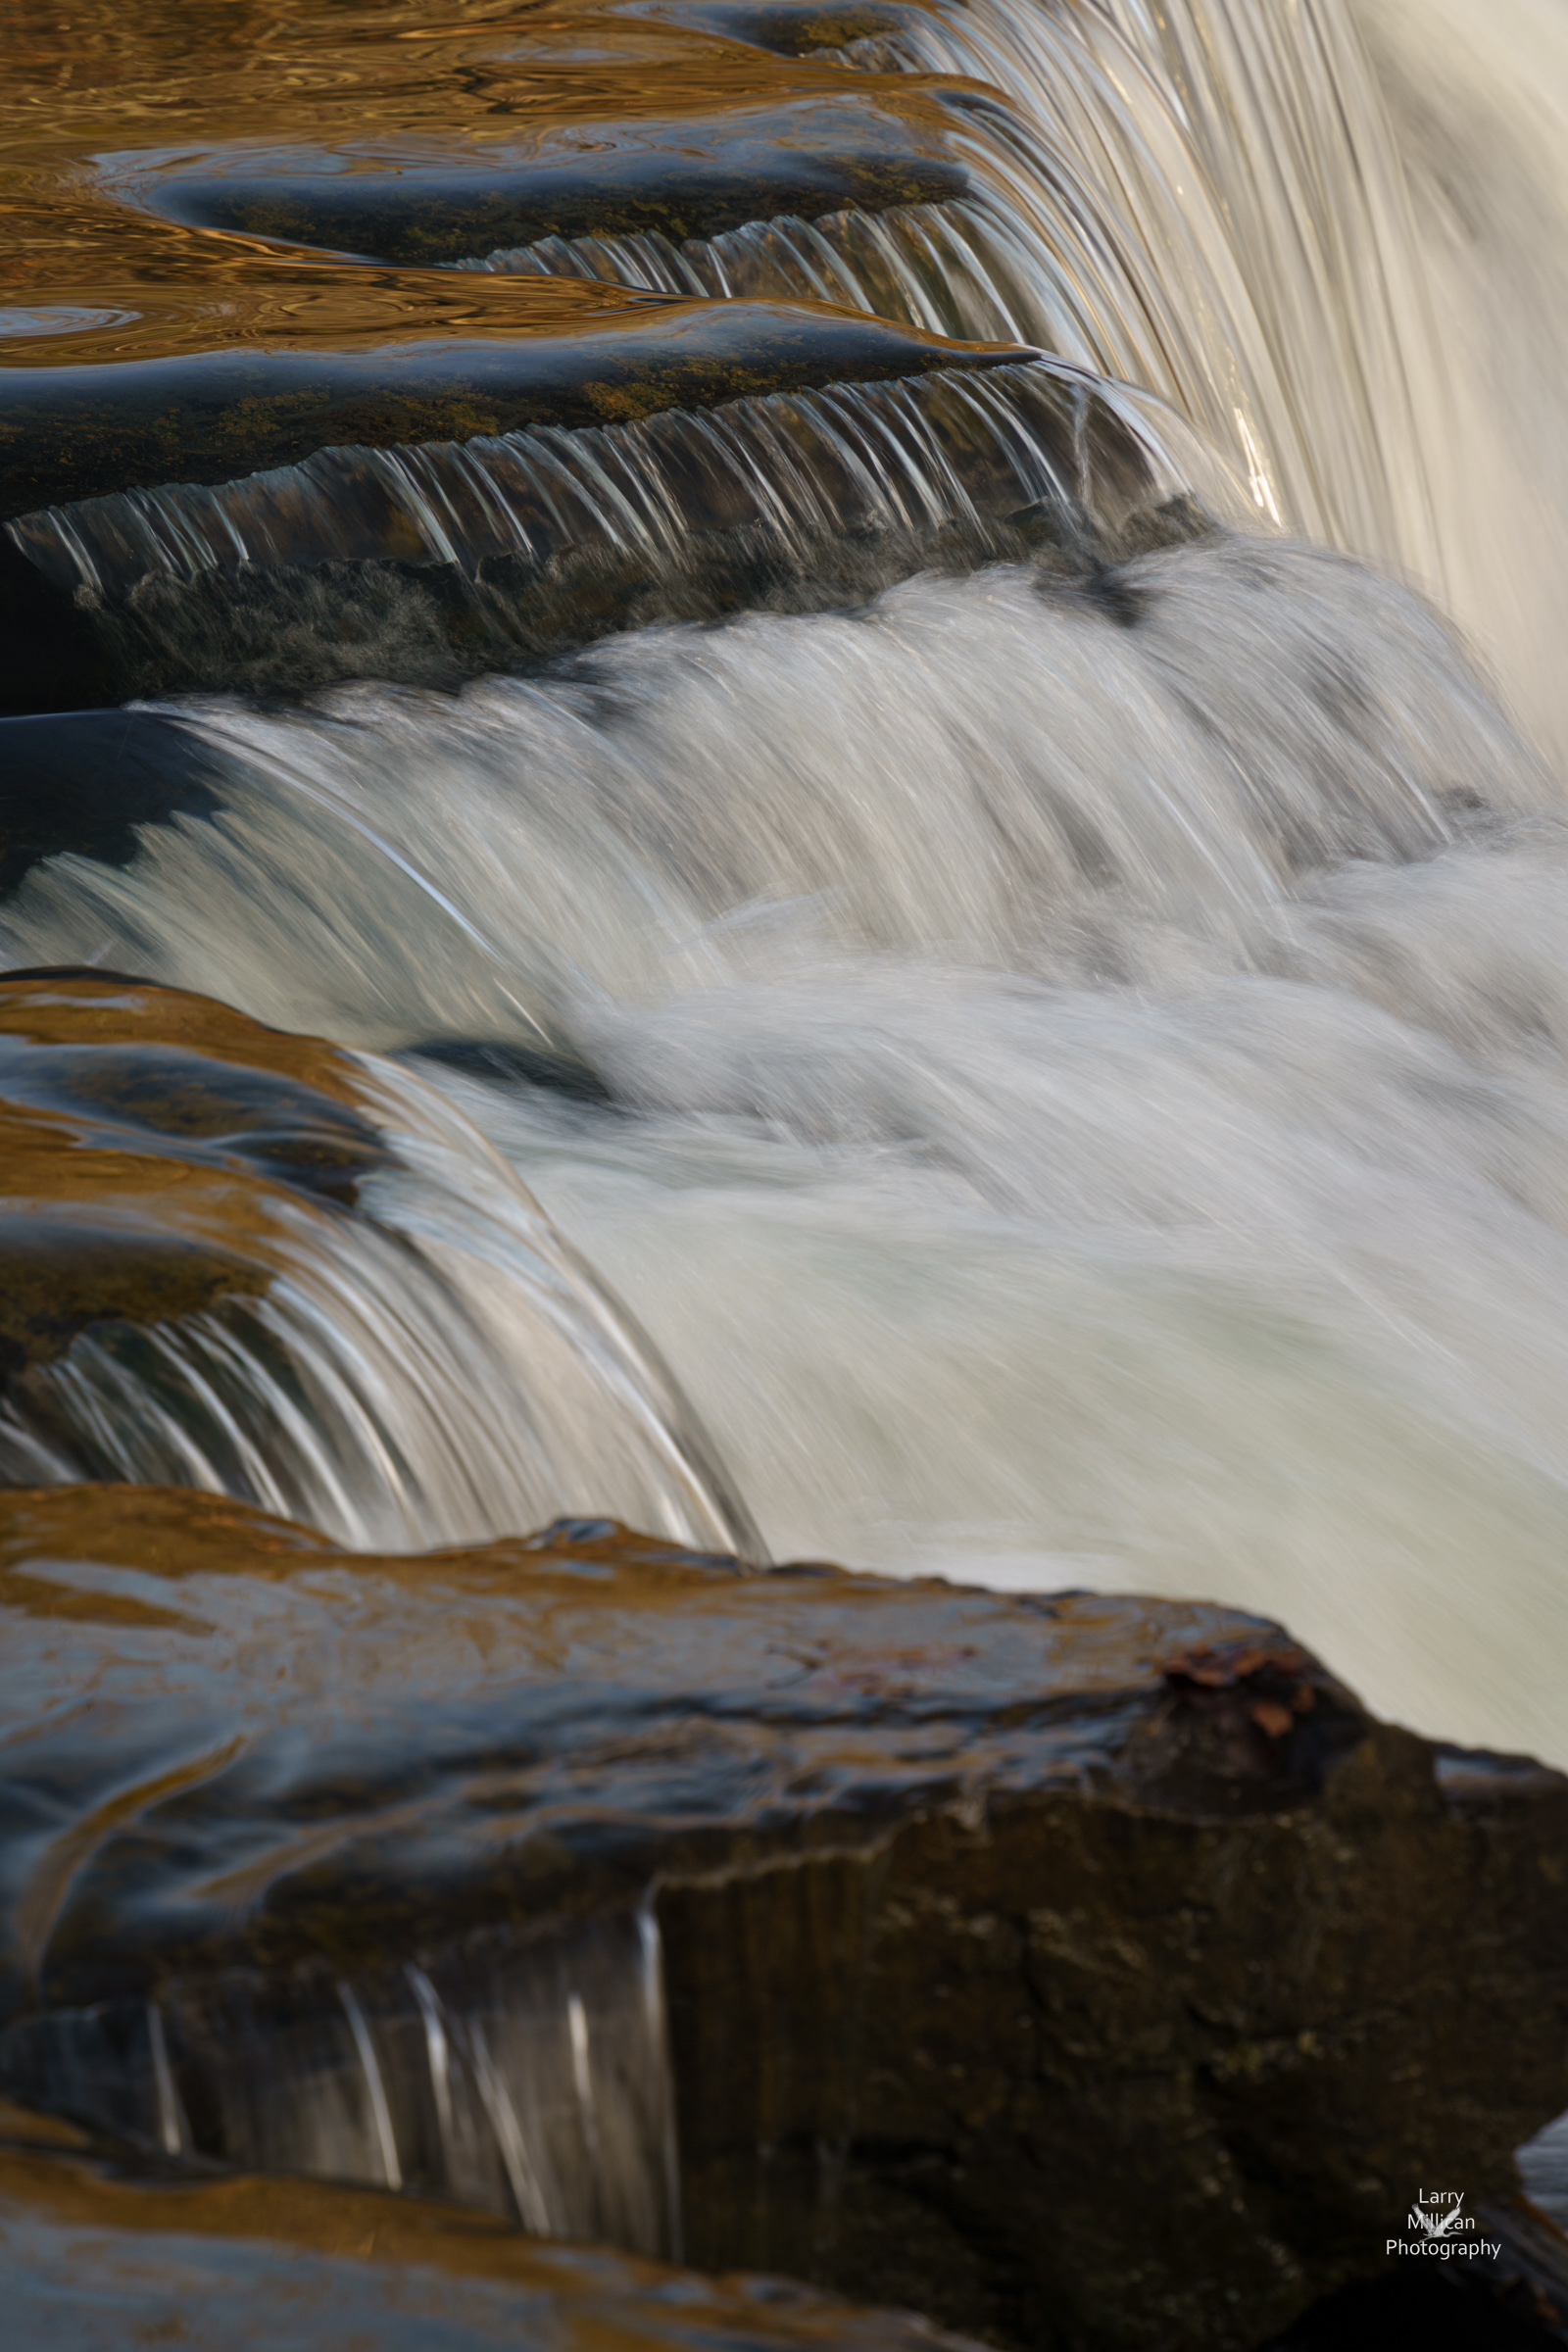
Full-frame camera. 28-200 zoom lens, at 168mm; f/11; 1/20 second; ISO 100
#3. March: Evening lights and sunset reflections at Spiro
We went to the Spiro City Park, at the Old Spiro City Lake, for some sunset photos. I liked this far better than a more traditional foreground! It is cropped to a near-pano, to exclude scattered distractions…
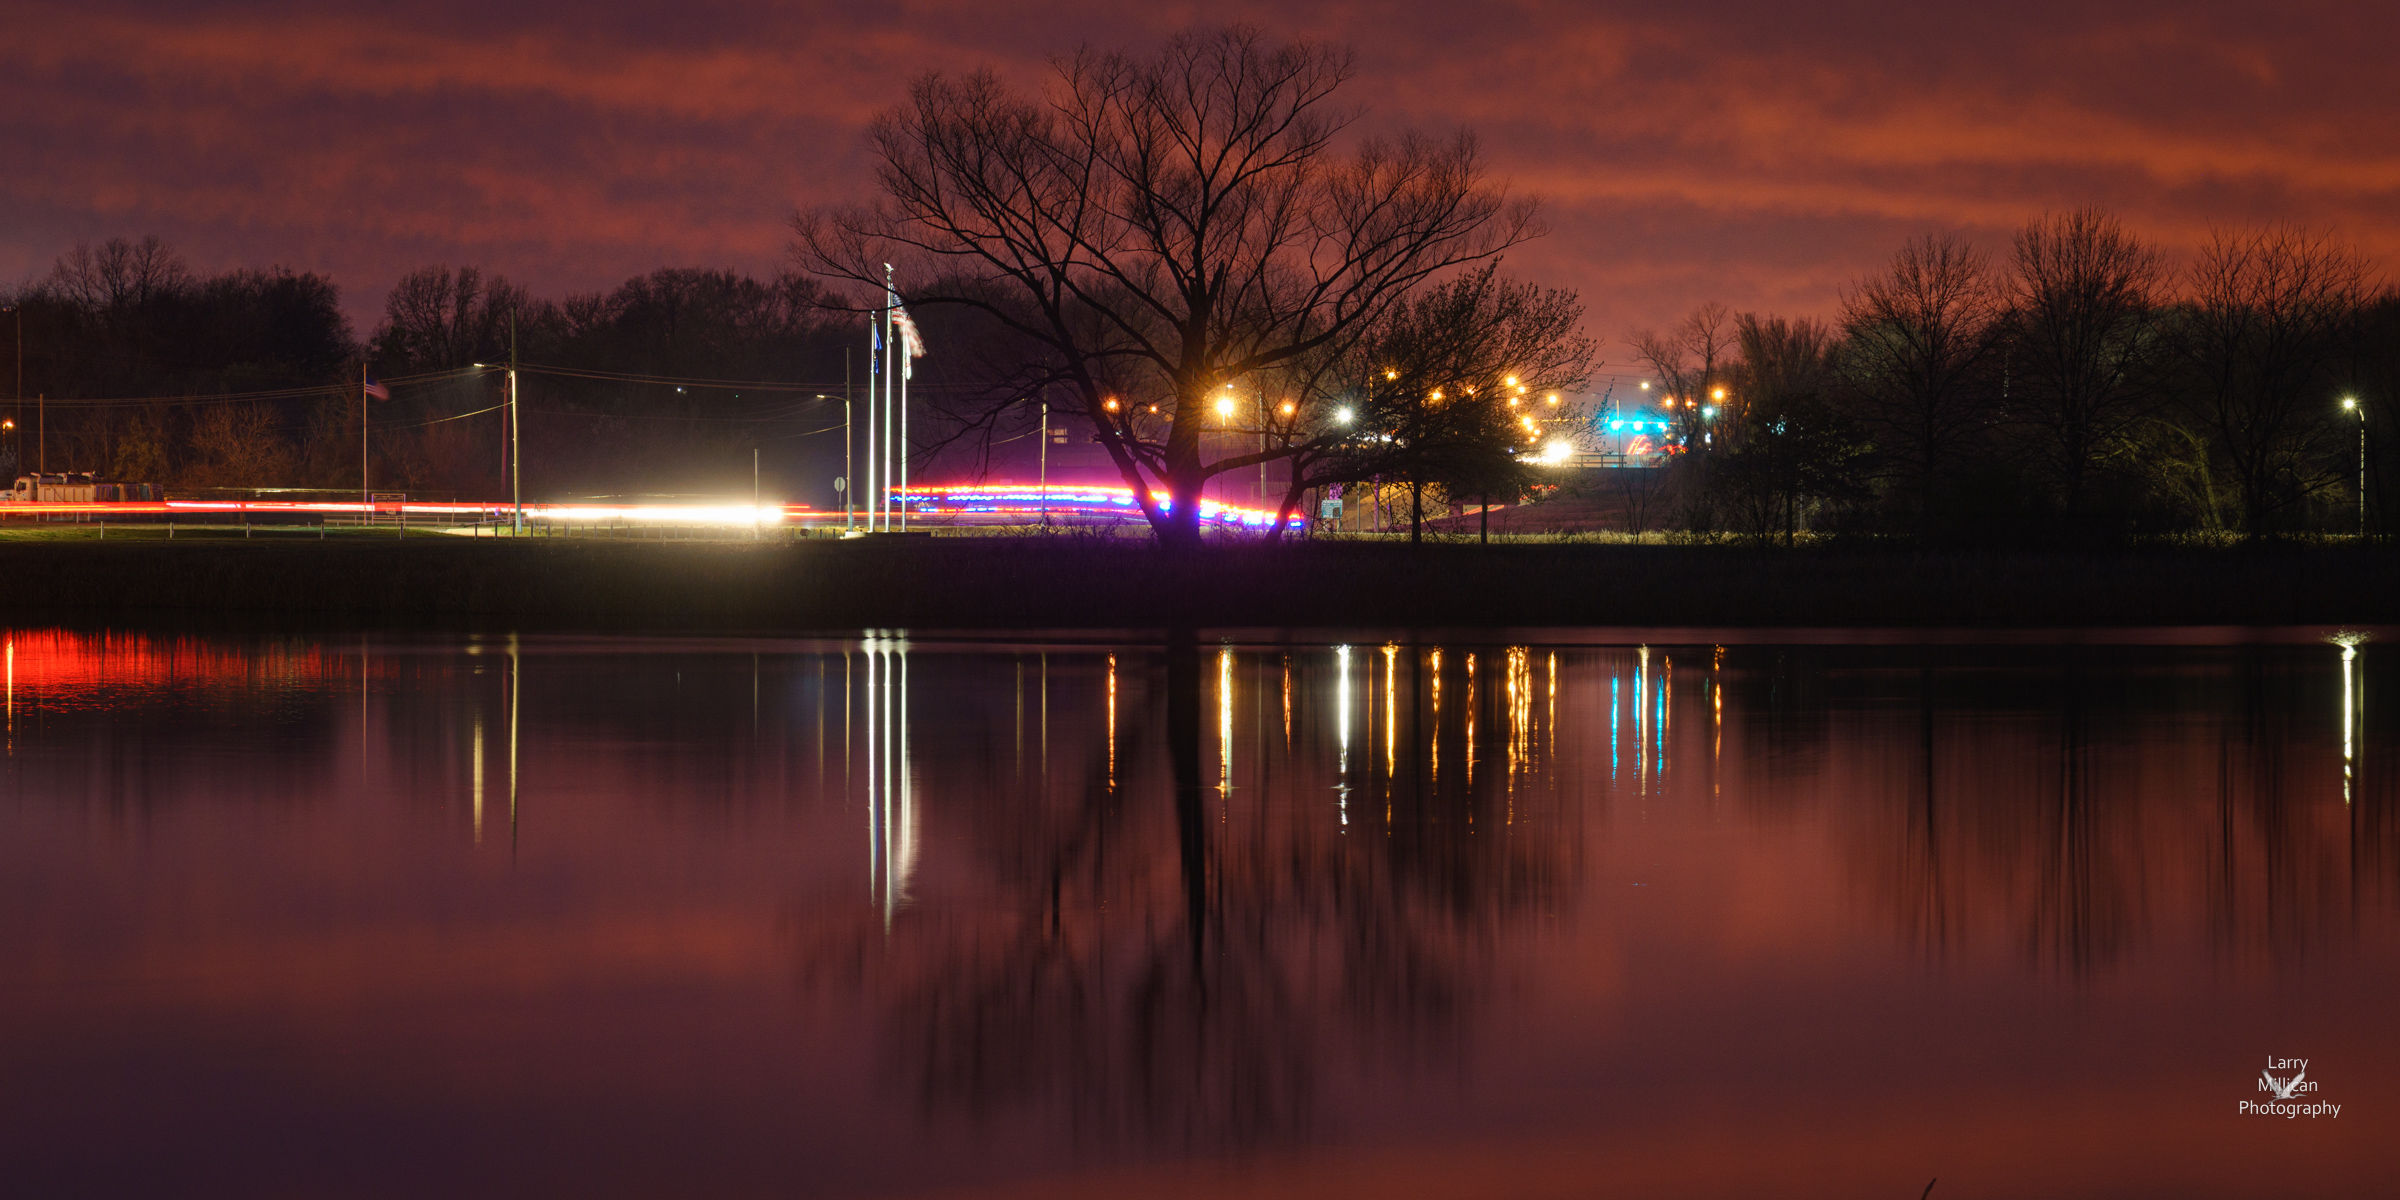
Full-frame camera. 28-200 zoom lens, set at 134mm; f/11; 10-second exposure; ISO 400
#4. July: Working in the Hay Field
I set up my camera alongside the field where Kenny was mowing and raking the grasses. With the camera hand-held near the ground, and the lens at 35mm, I tried to make the tractor appear even more impressive and imposing than it truly is. 🙂
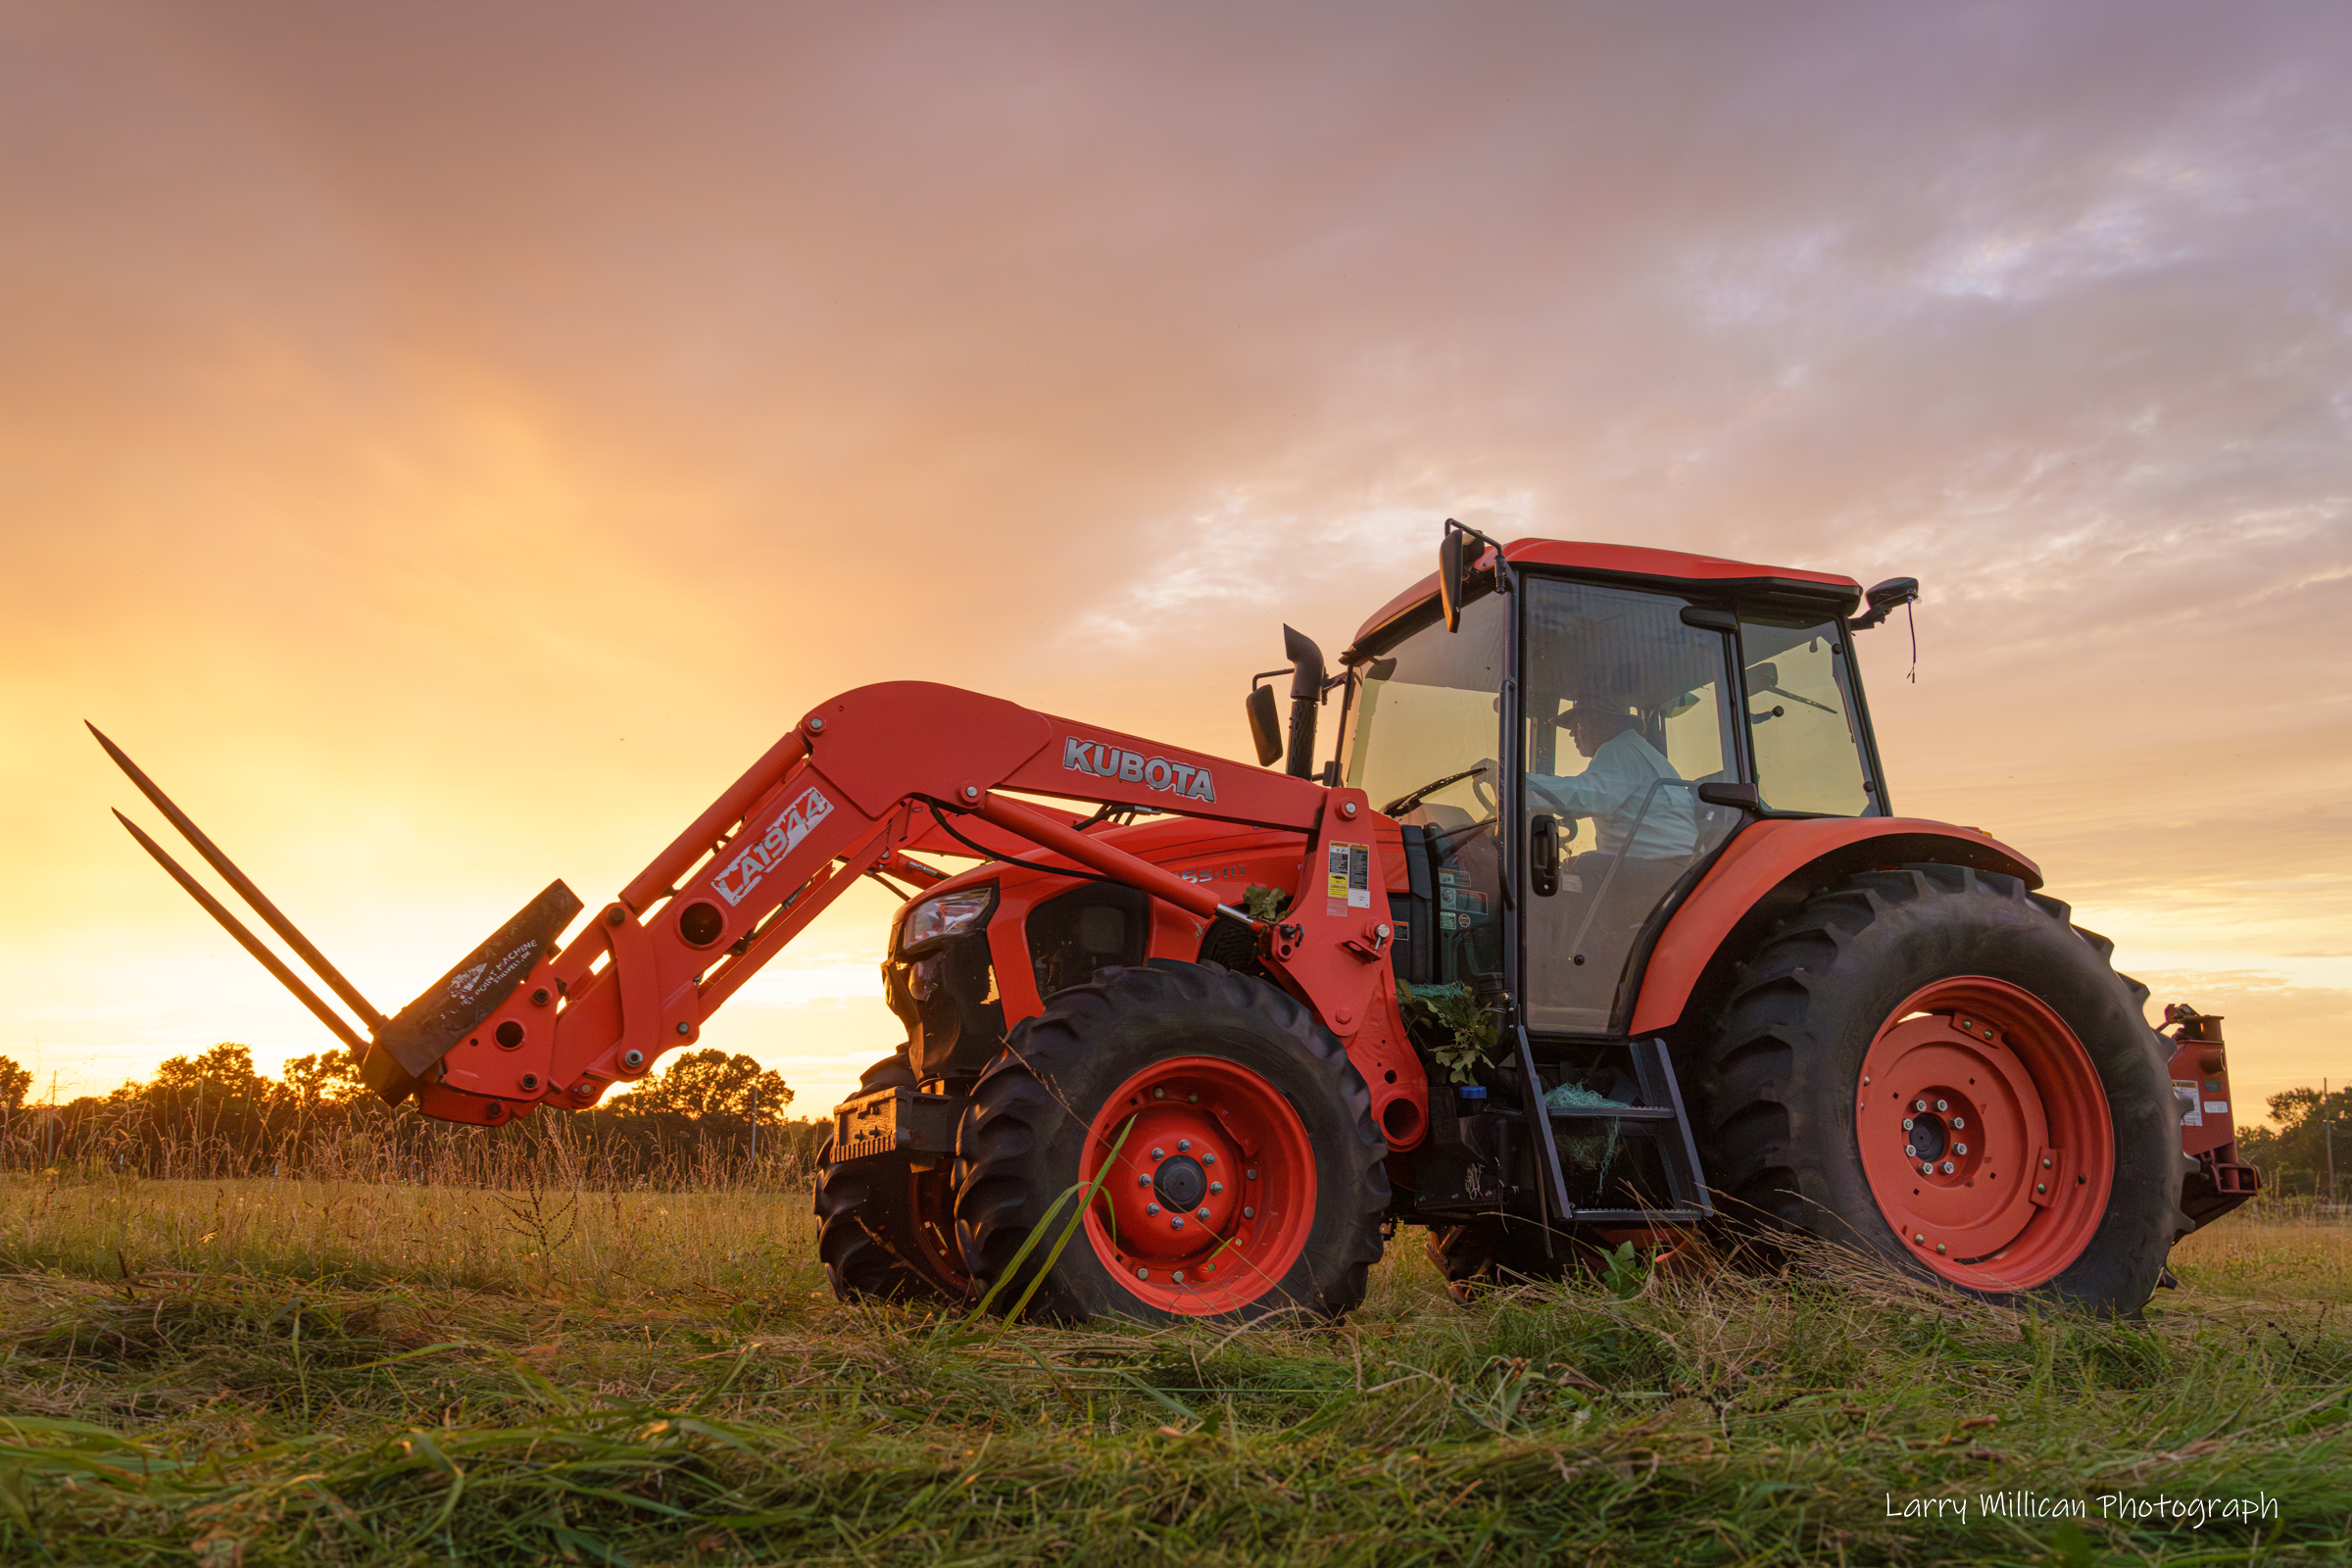
Full-frame camera, 28-200 zoom lens at 35mm; f/5.6; 1/250th sec; ISO 1600
#5. September: Lake Hefner Lighthouse, Oklahoma City, OK
The Gulf of Mexico, our nearest large body of water, is nearly 500 miles south. However, in Oklahoma City, there is a lighthouse.on Lake Hefner. It is a popular location at sunset, as we learned in September.
The lighthouse is an “official lighthouse,” not just for show. It is there to provide aid to the boats on the lake after dark…
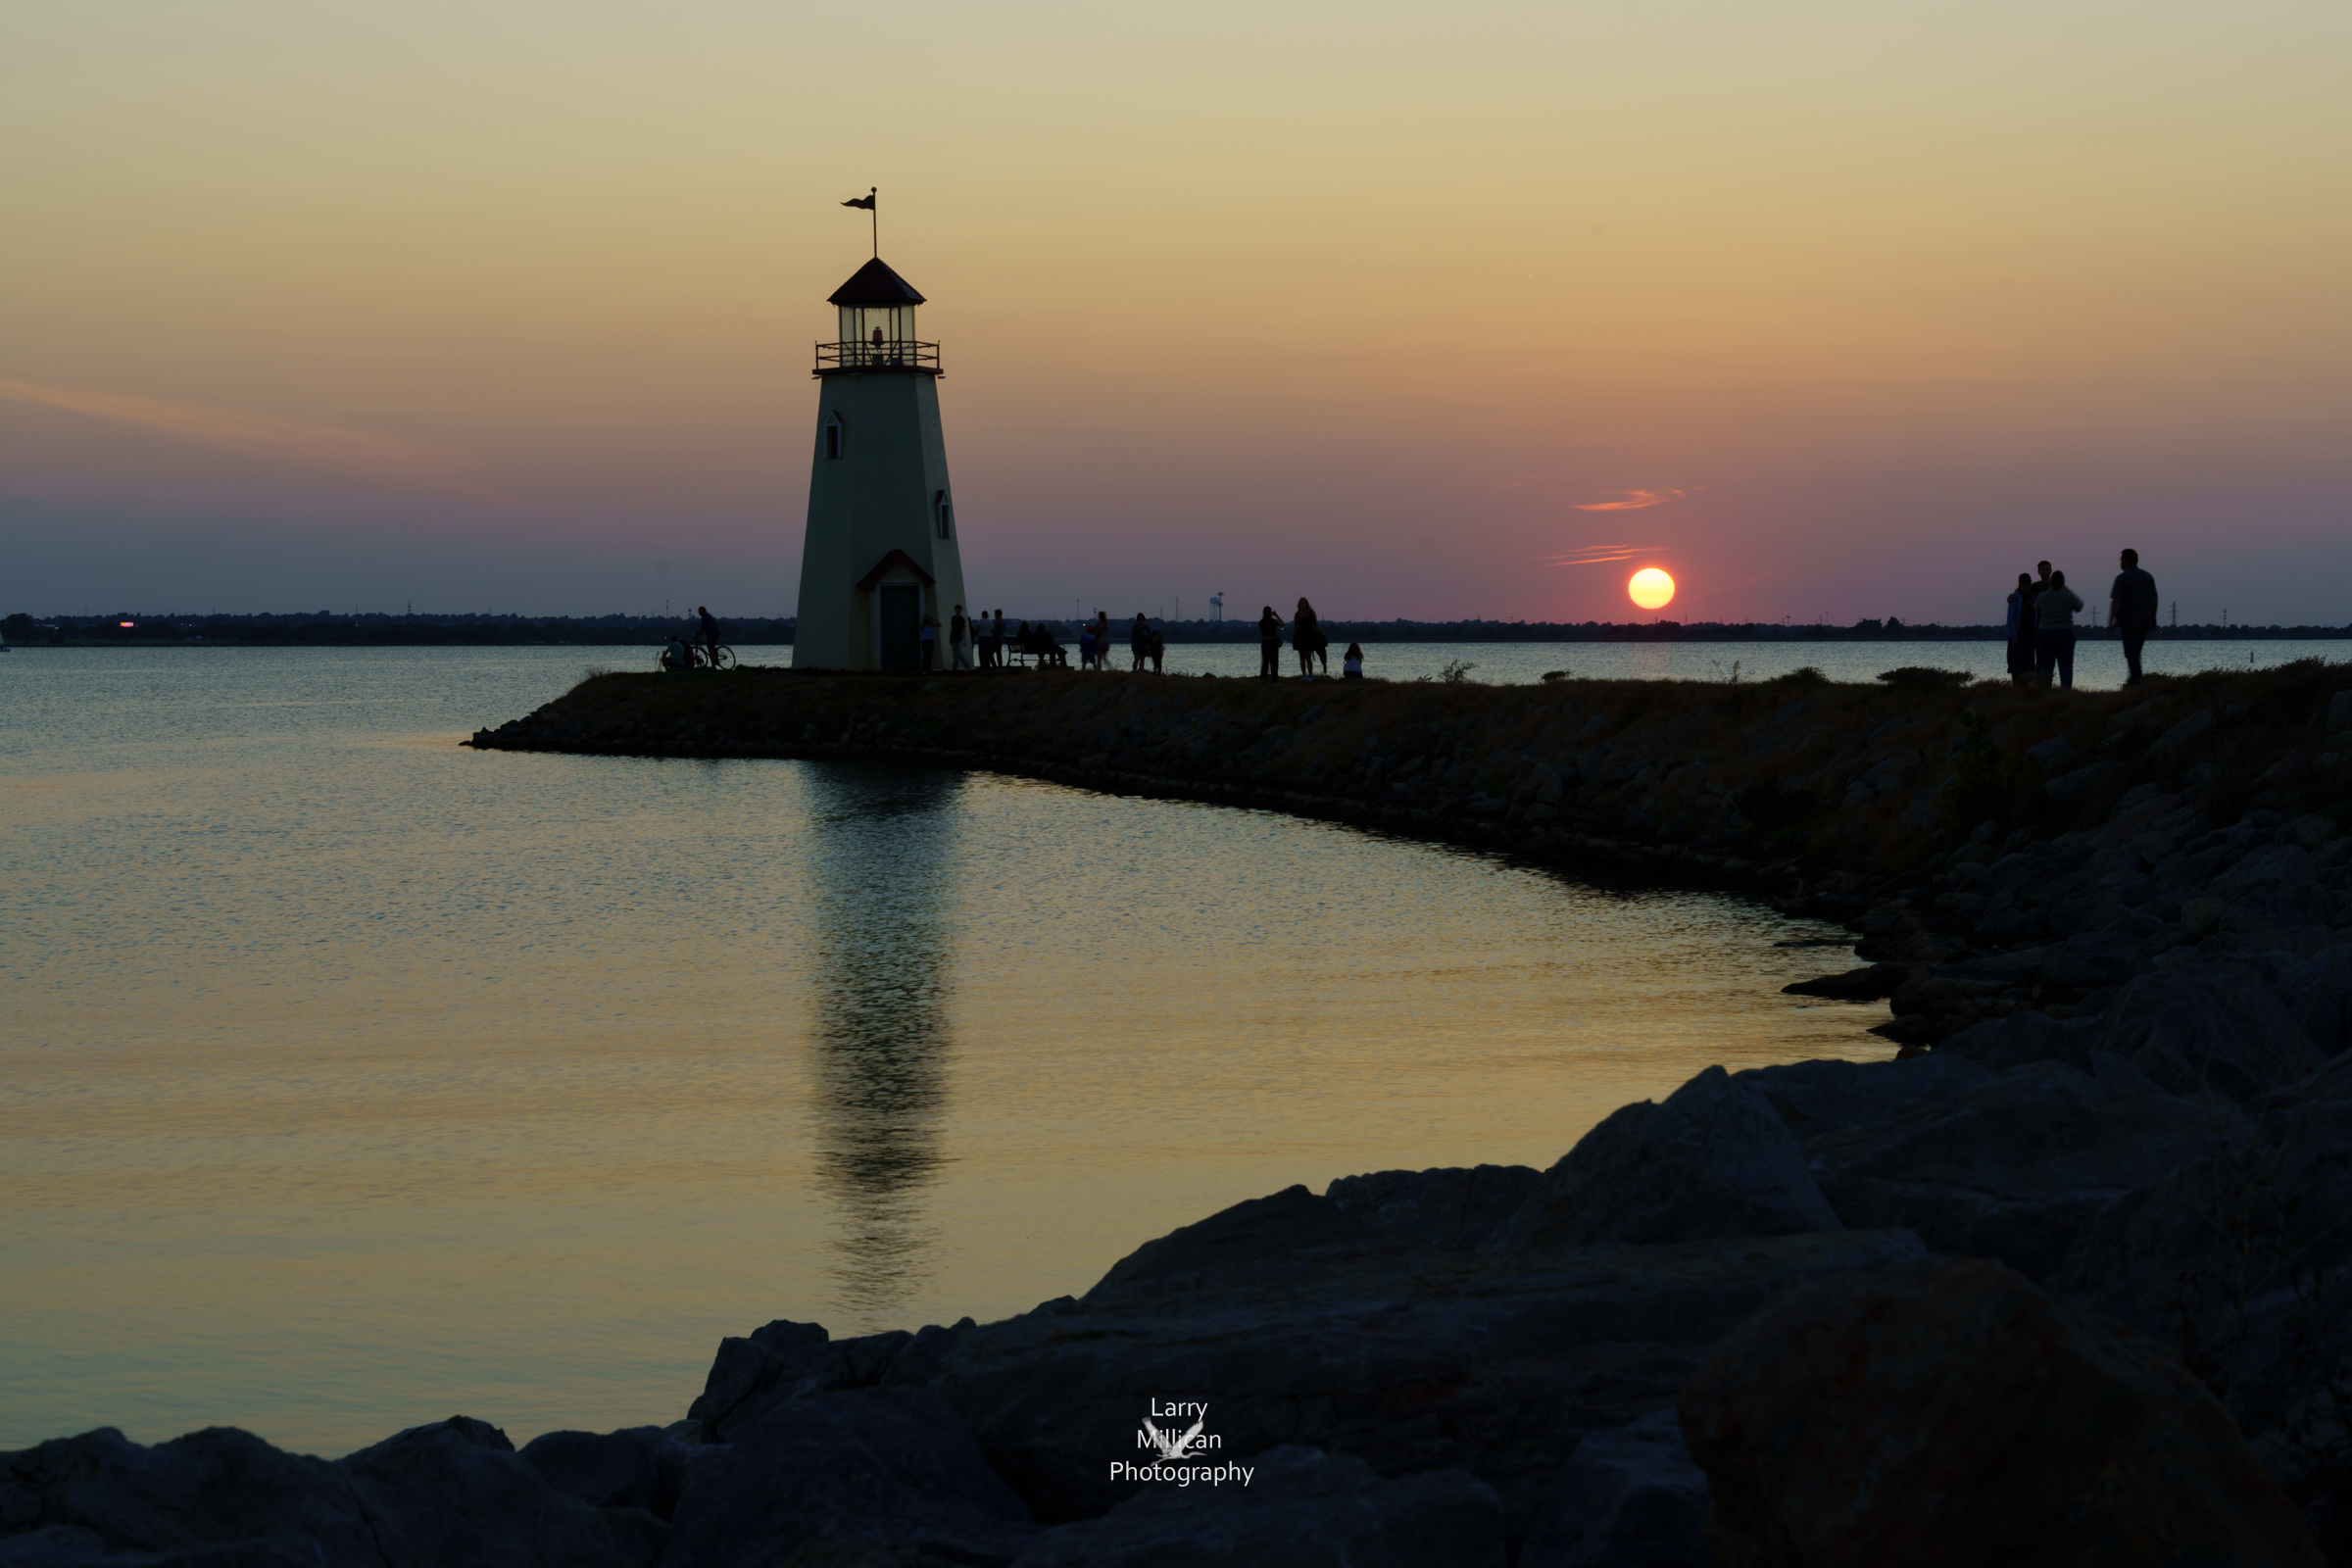
Full-frame camera; 28-200 zoom lens at 63 mm; f/16; 1/8 sec; ISO 100
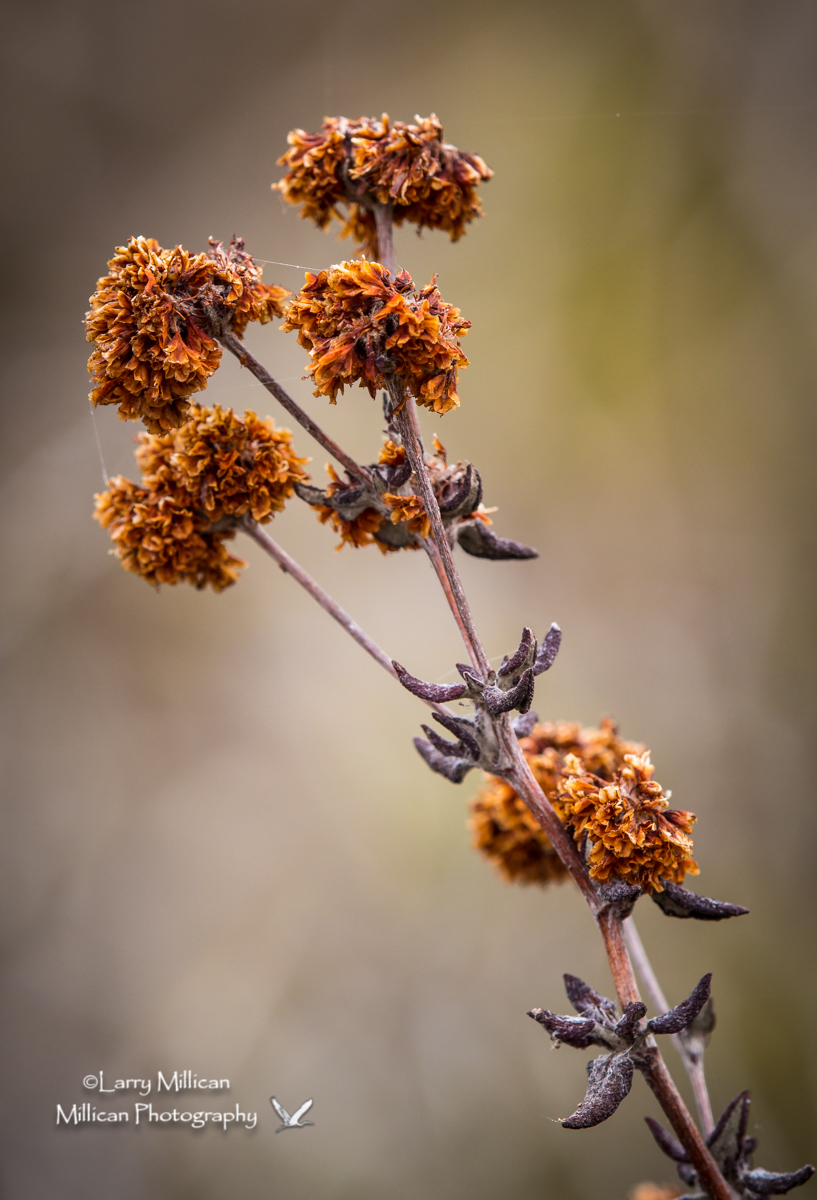
#6. September: Random Yellow flowers
A few days after our sightseeing in Oklahoma City, we stopped at the West Fork City Park, West Fork, AR. It’s a good spot for photos of the river (West Fork of the White River), wildflowers, and more. I liked this bunch of healthy flowers and plants, and the seemingly random arrangement.
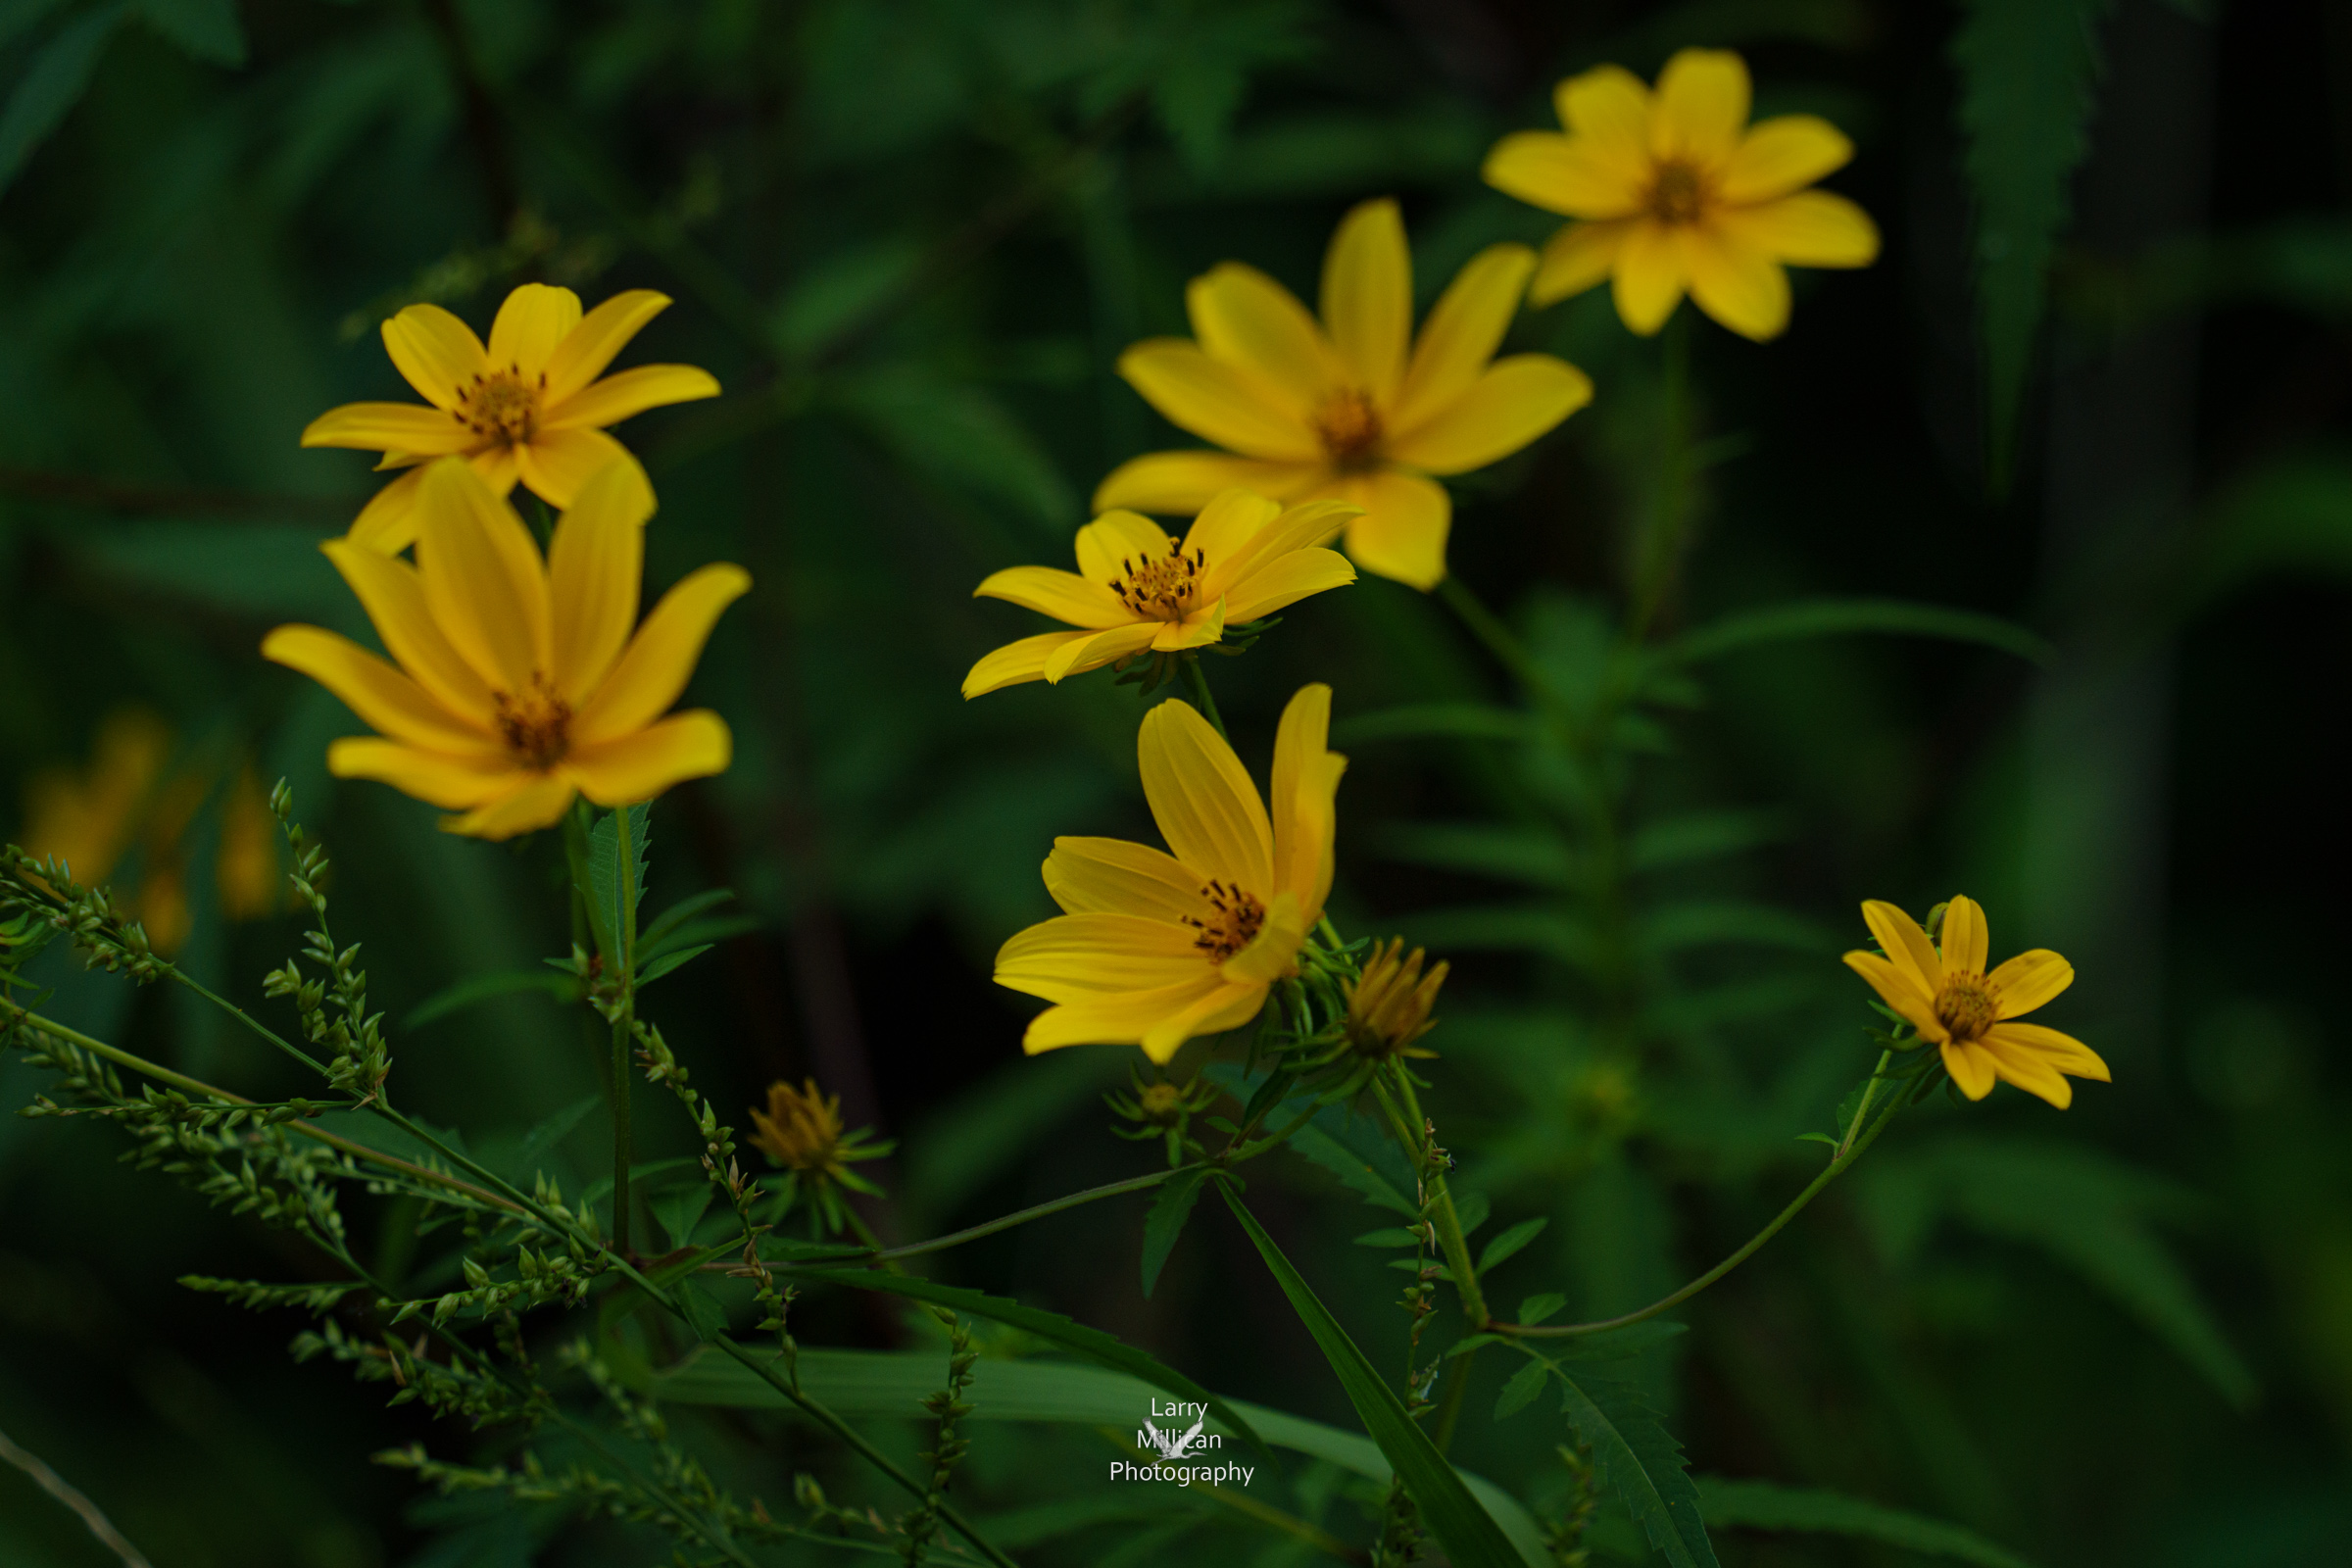
Full-frame camera; 28-200 zoom lens, at 172 mm; f/5.6; 1/160 sec, ISO 400
7. October: Cavanal Hill Autumn
Cavanal Hill, “The World’s Tallest Hill”, is tall enough that on this day, the clouds were sitting on its crest. To photographers, though, that just means photos! One of the first I saw was this tree with a beautiful strand of poison ivy! I kept my distance and made this image.
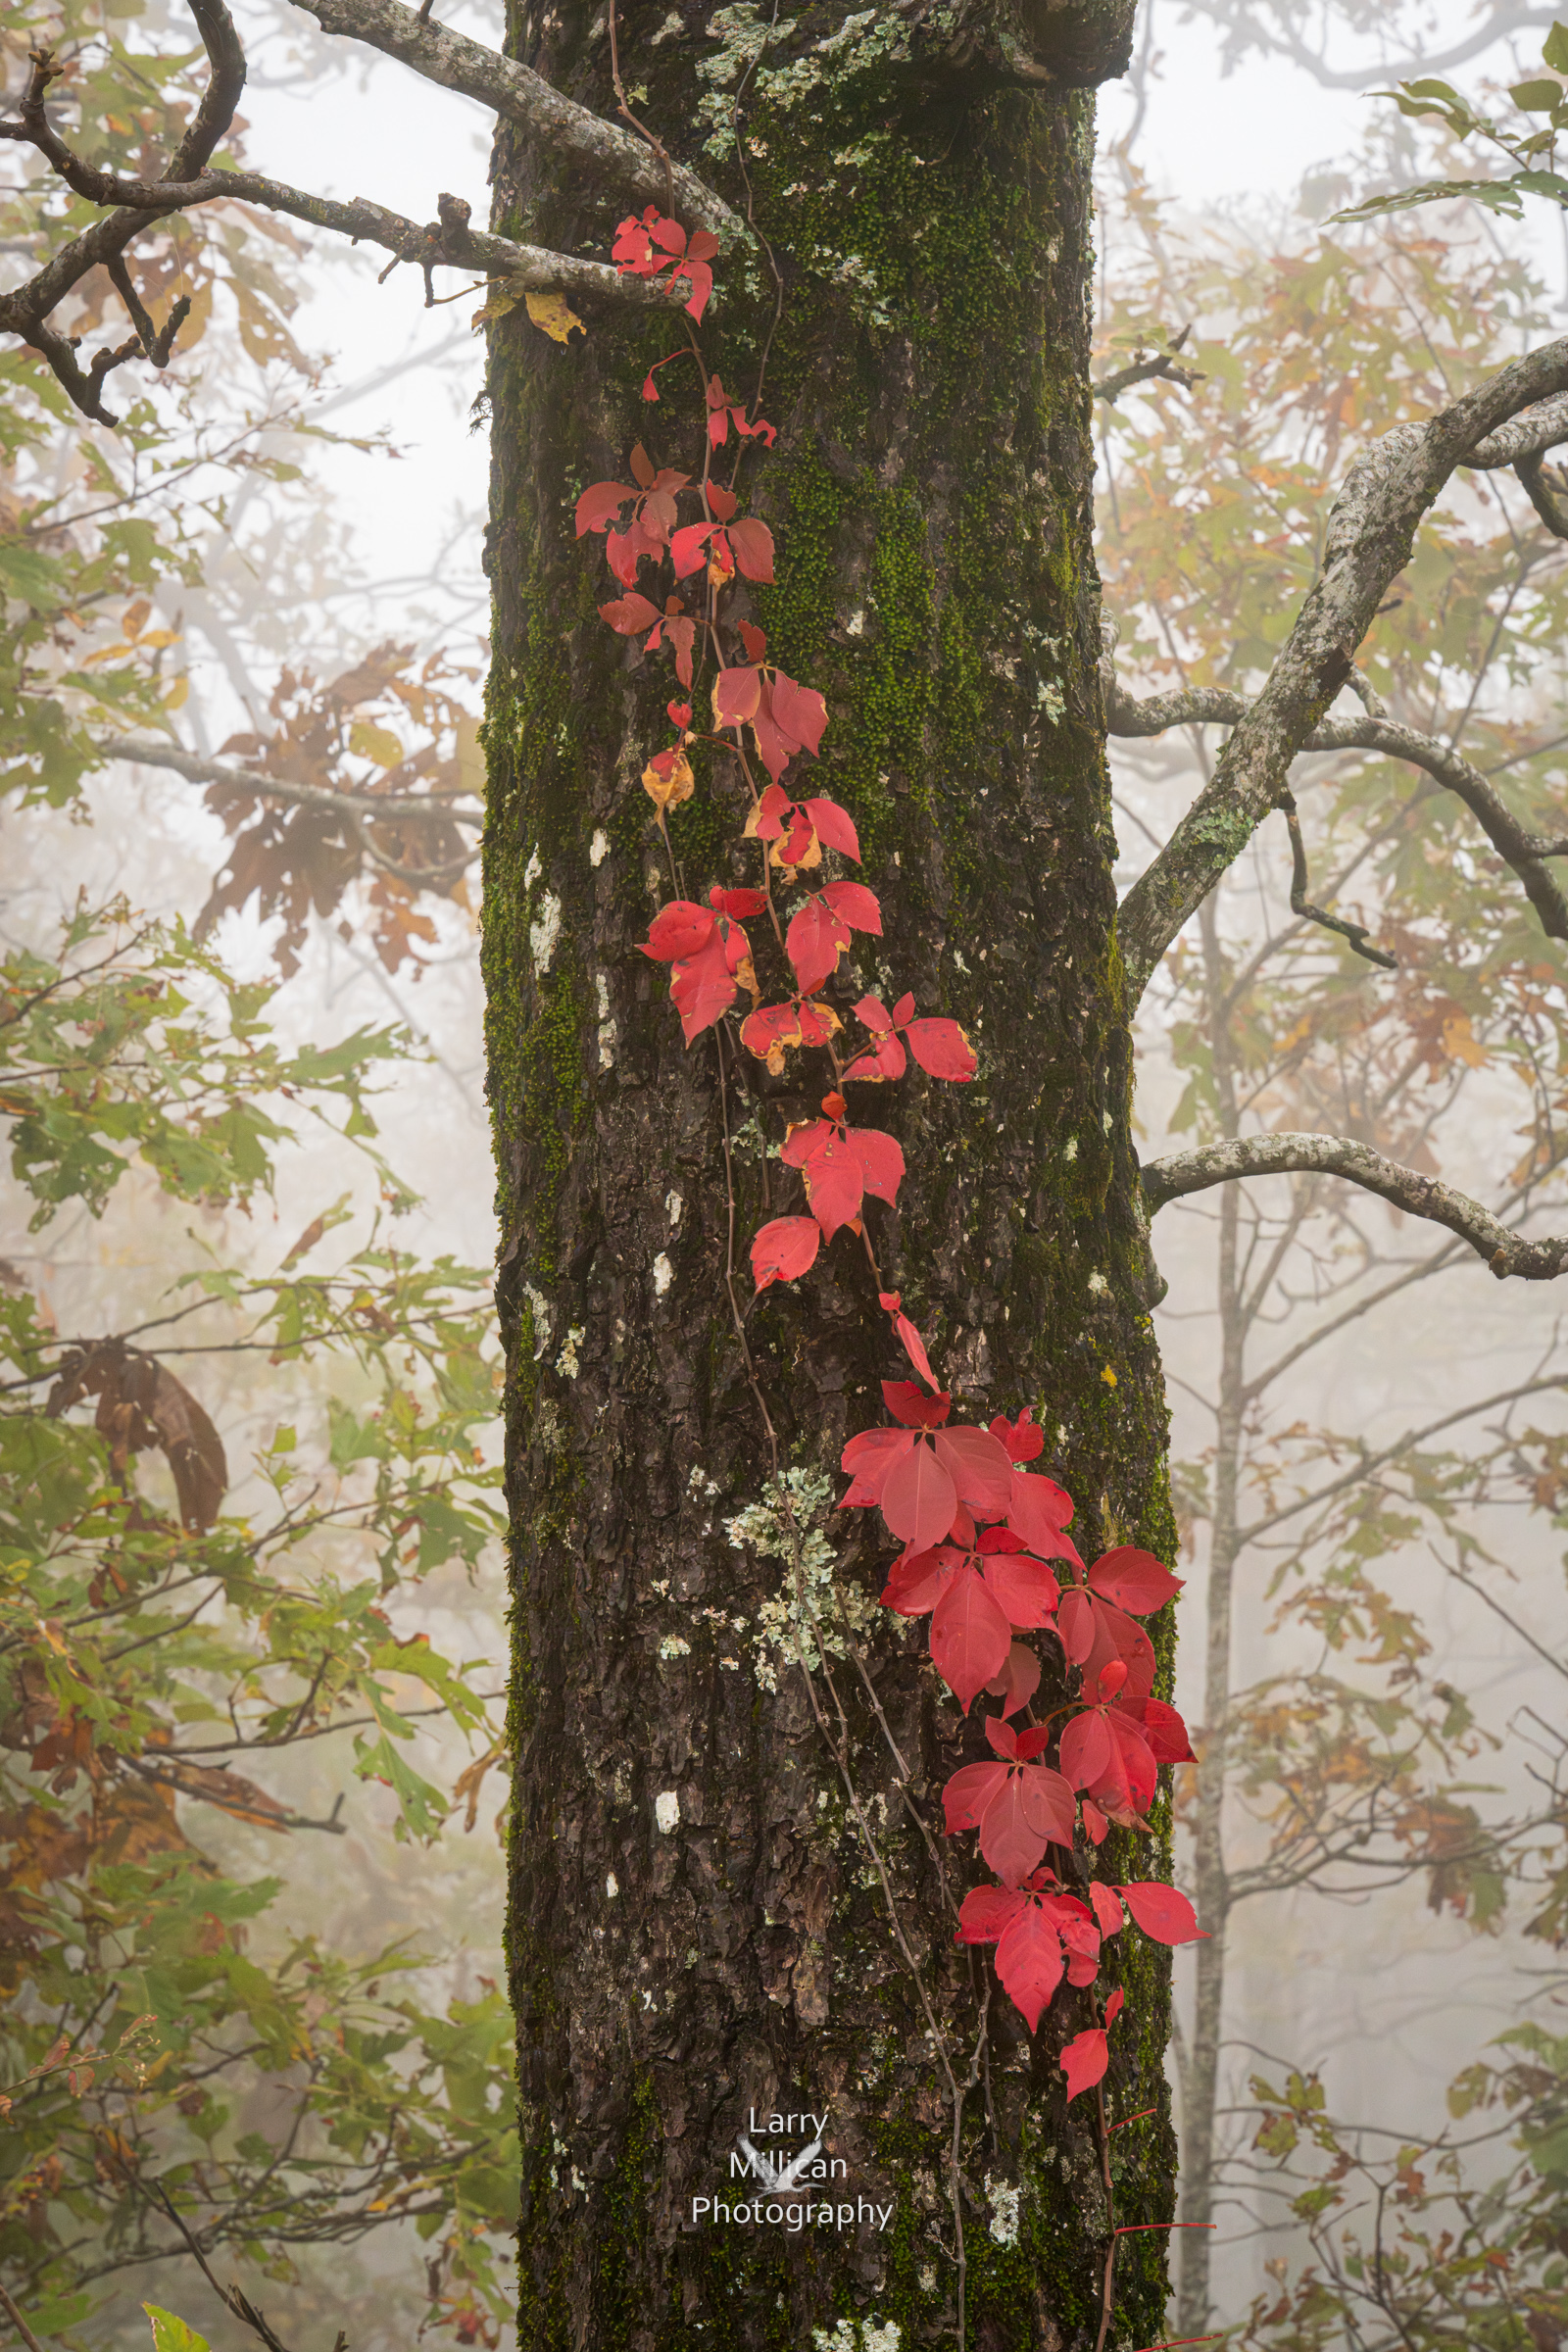
Full-frame camera with 28-200 zoom lens, set to 90 mm; f/18; 1/100 shutter speed; ISO 10000
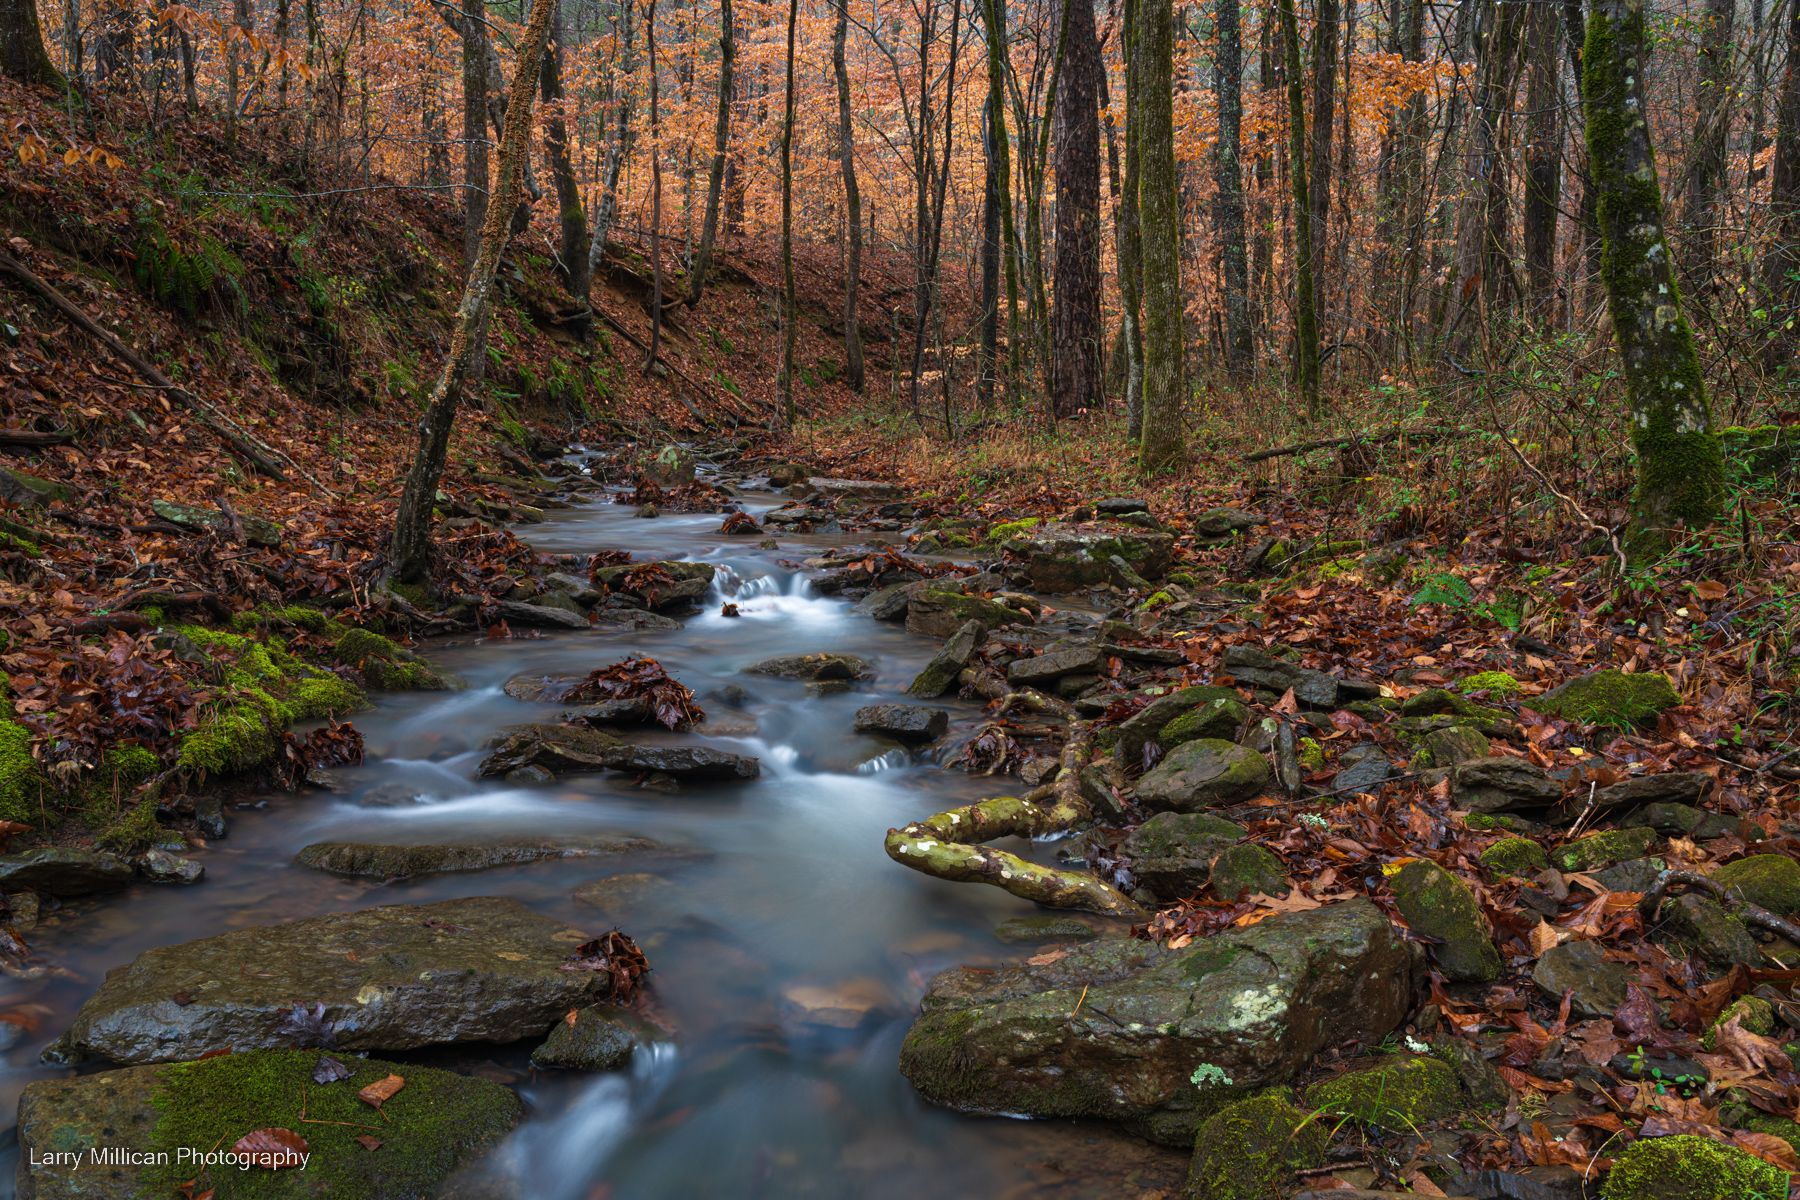
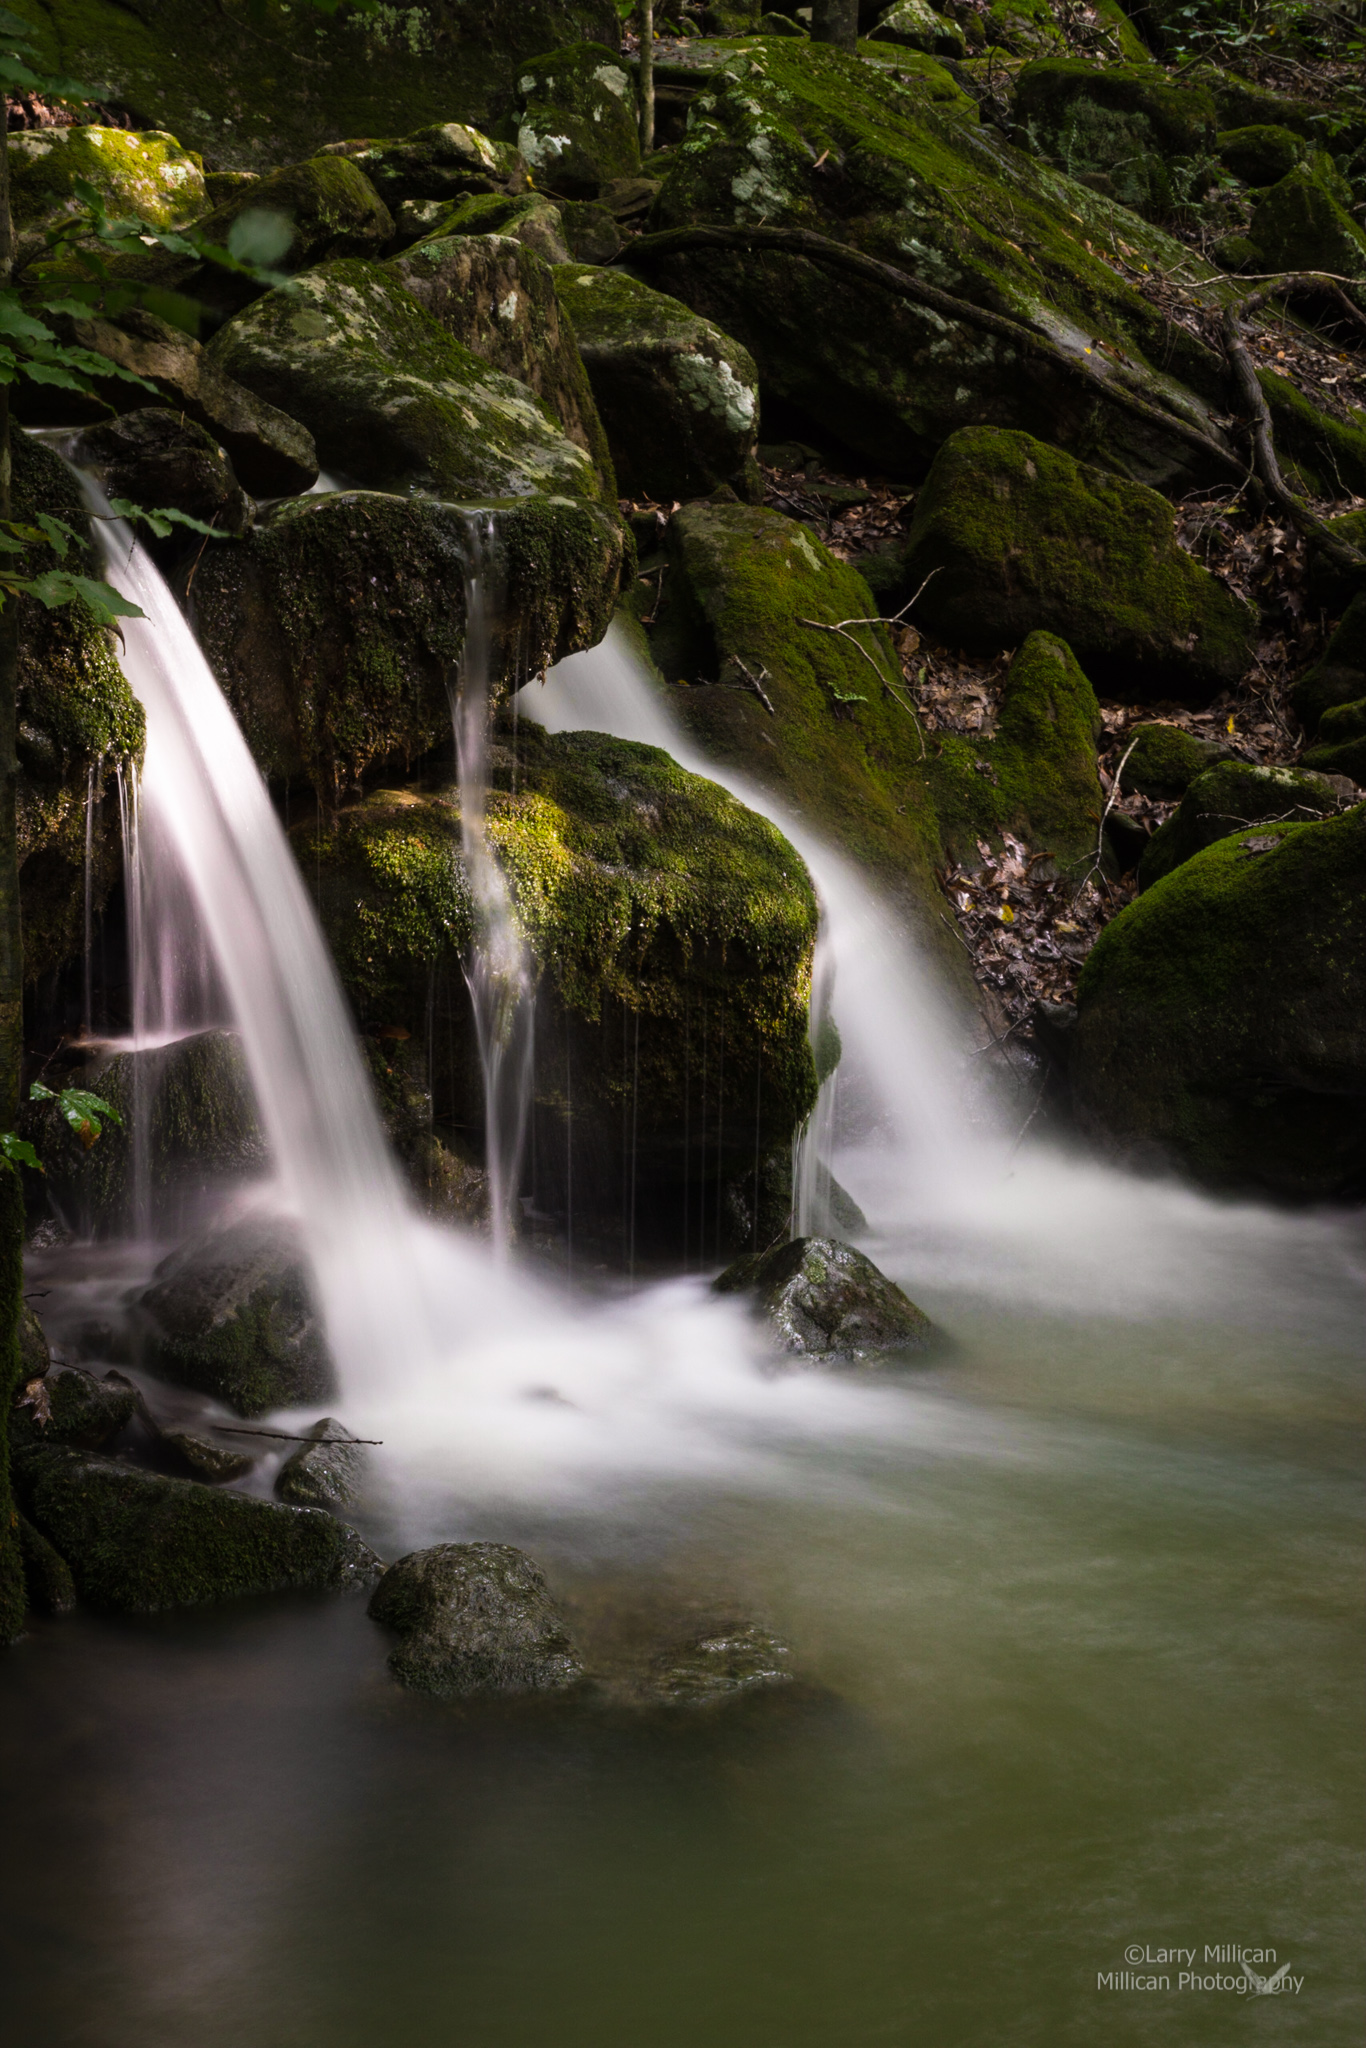
8. October: Cavanal Hill Autumn, Part 2
On our descent from the heights of Cavanal Hill, we stopped at a roadside overlook, where a small creek cascaded down the hill…
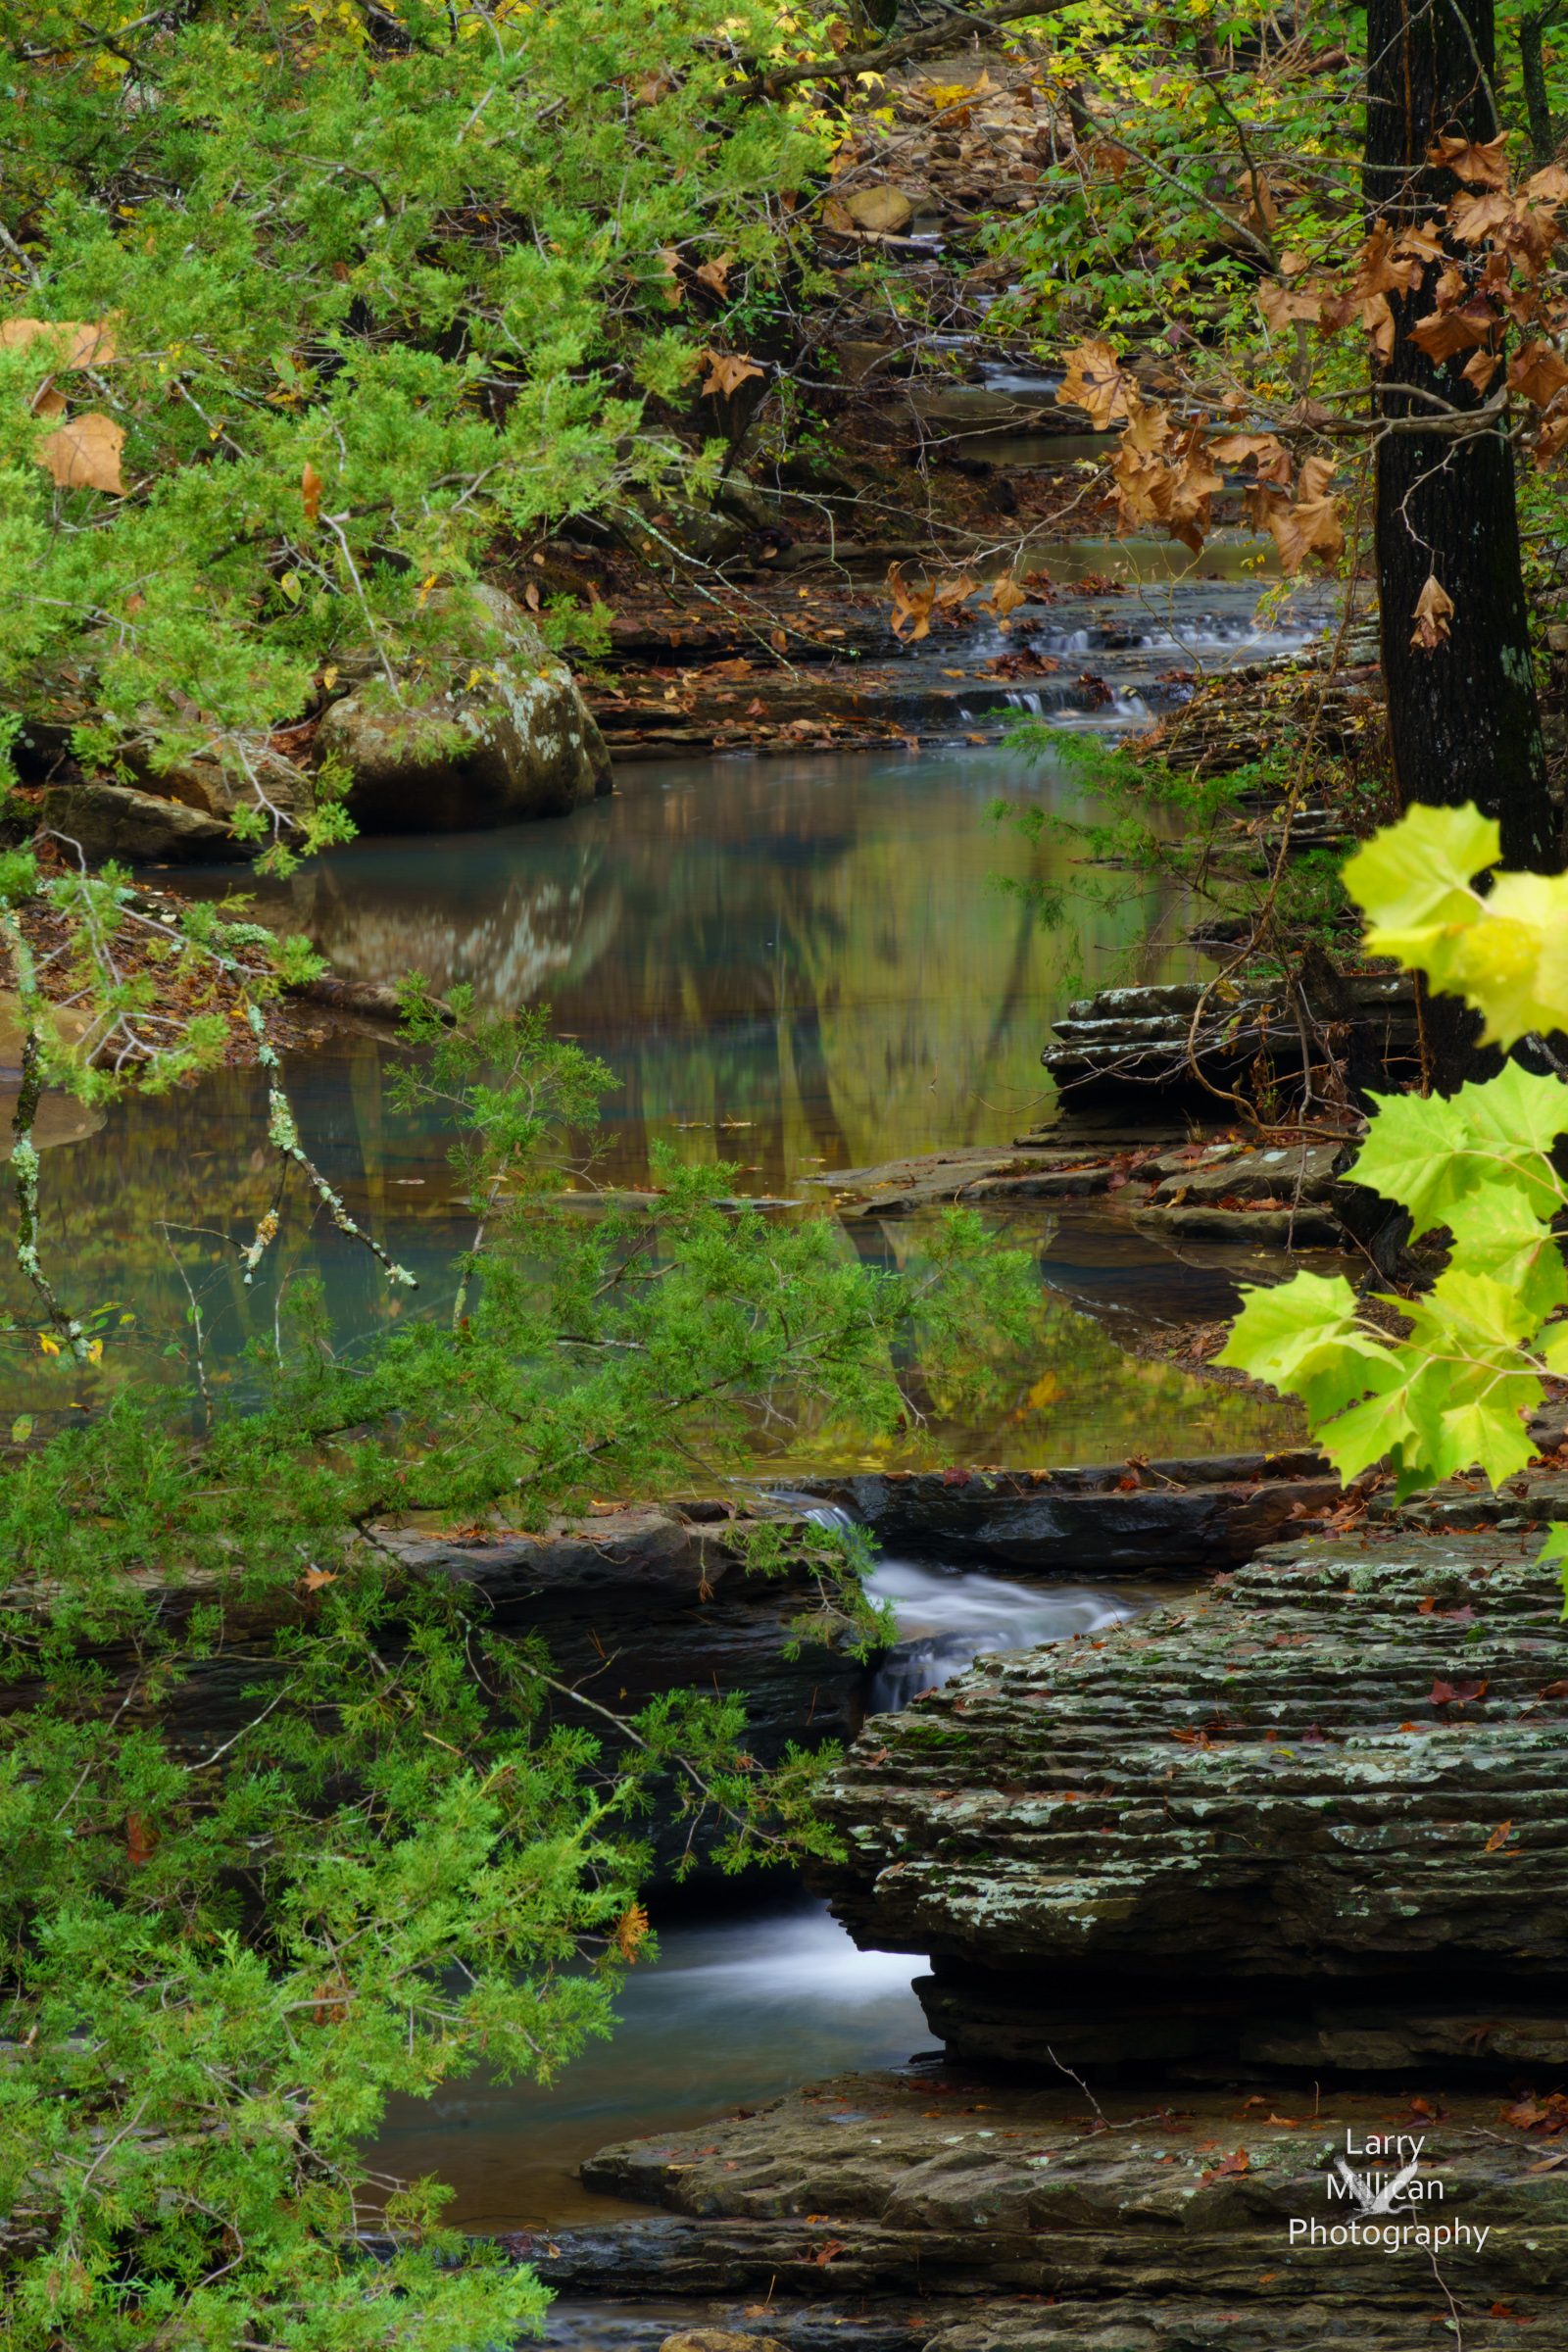
Full-frame camera, 28-200 zoom lens at 200 mm; f/22; 3.2 exposure time; ISO 100
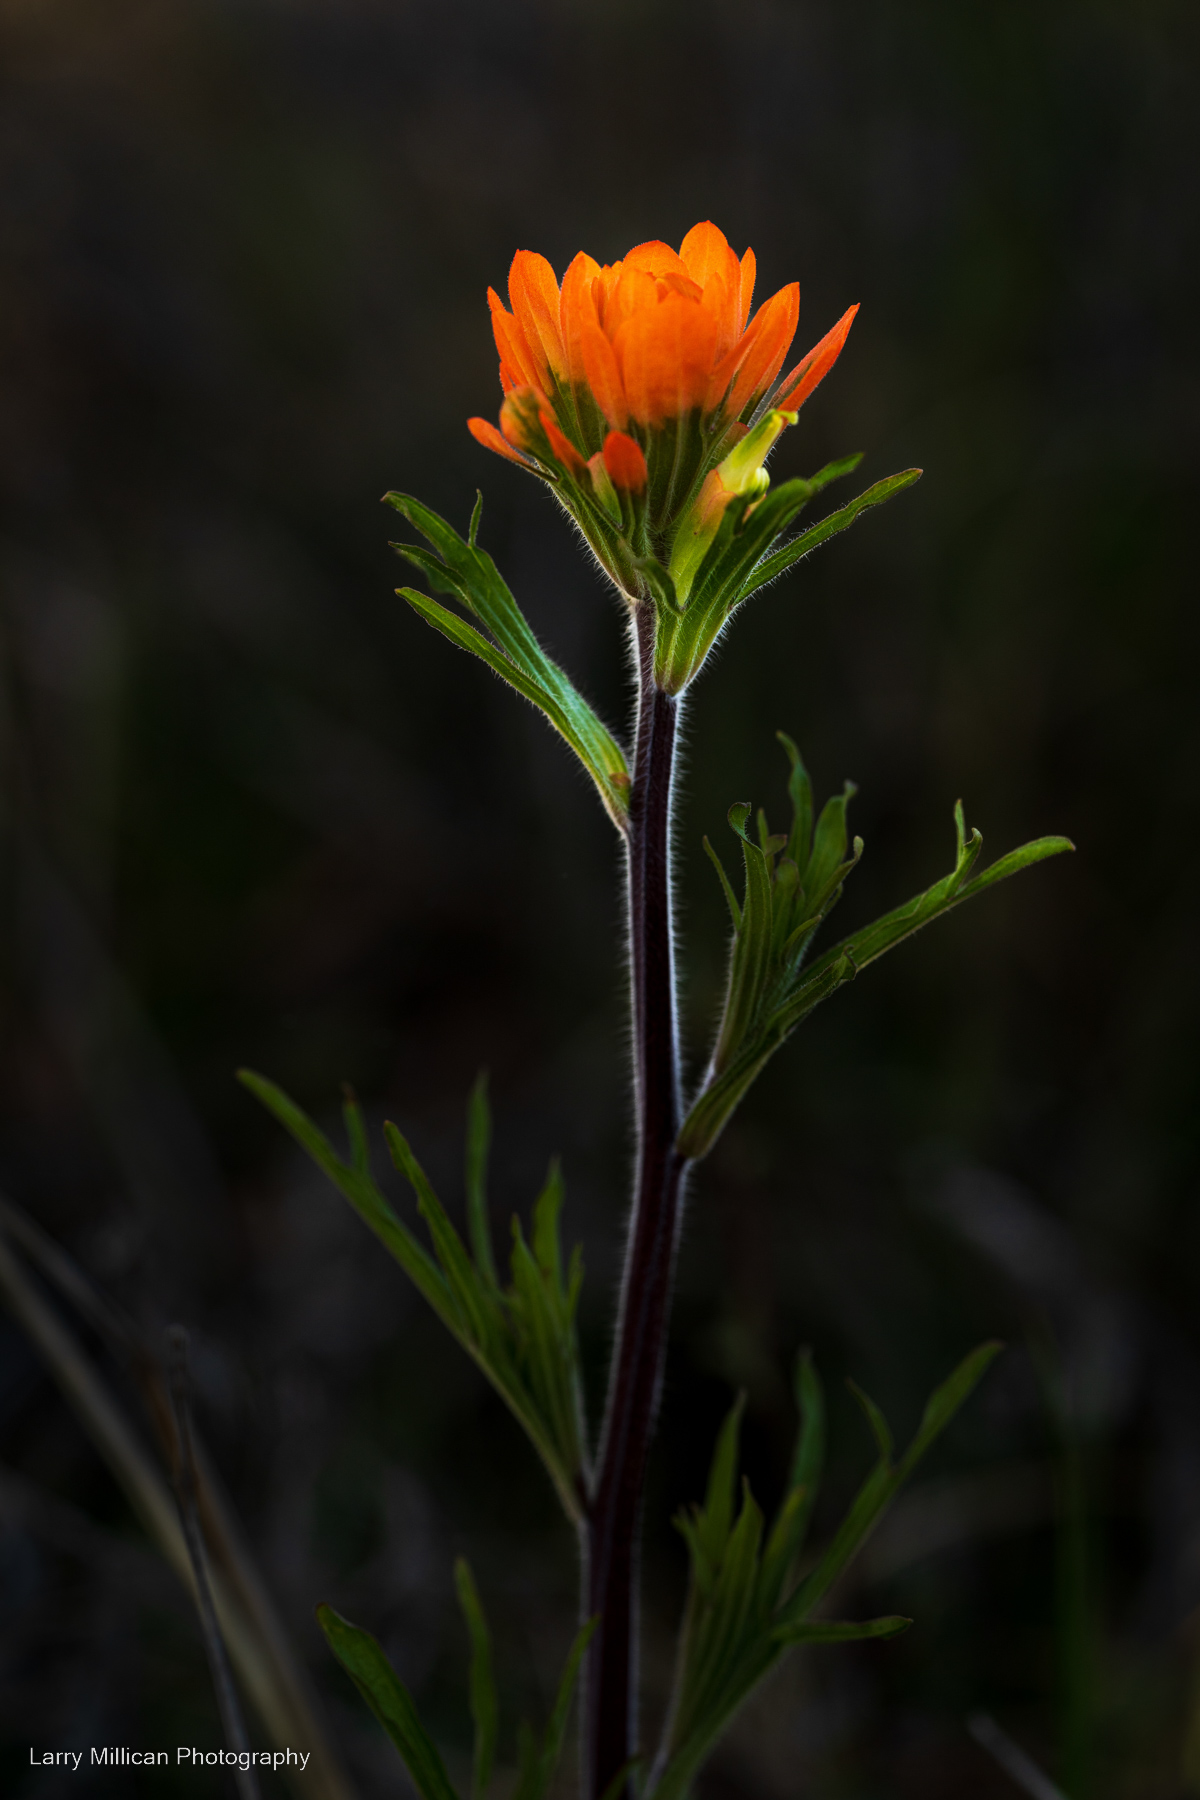
#9. November: High Key Rose Blossom
In November, Sharon’s rose bush blessed us with a couple of blossoms; I missed the first, but made sure I made this image of the second before it was gone…
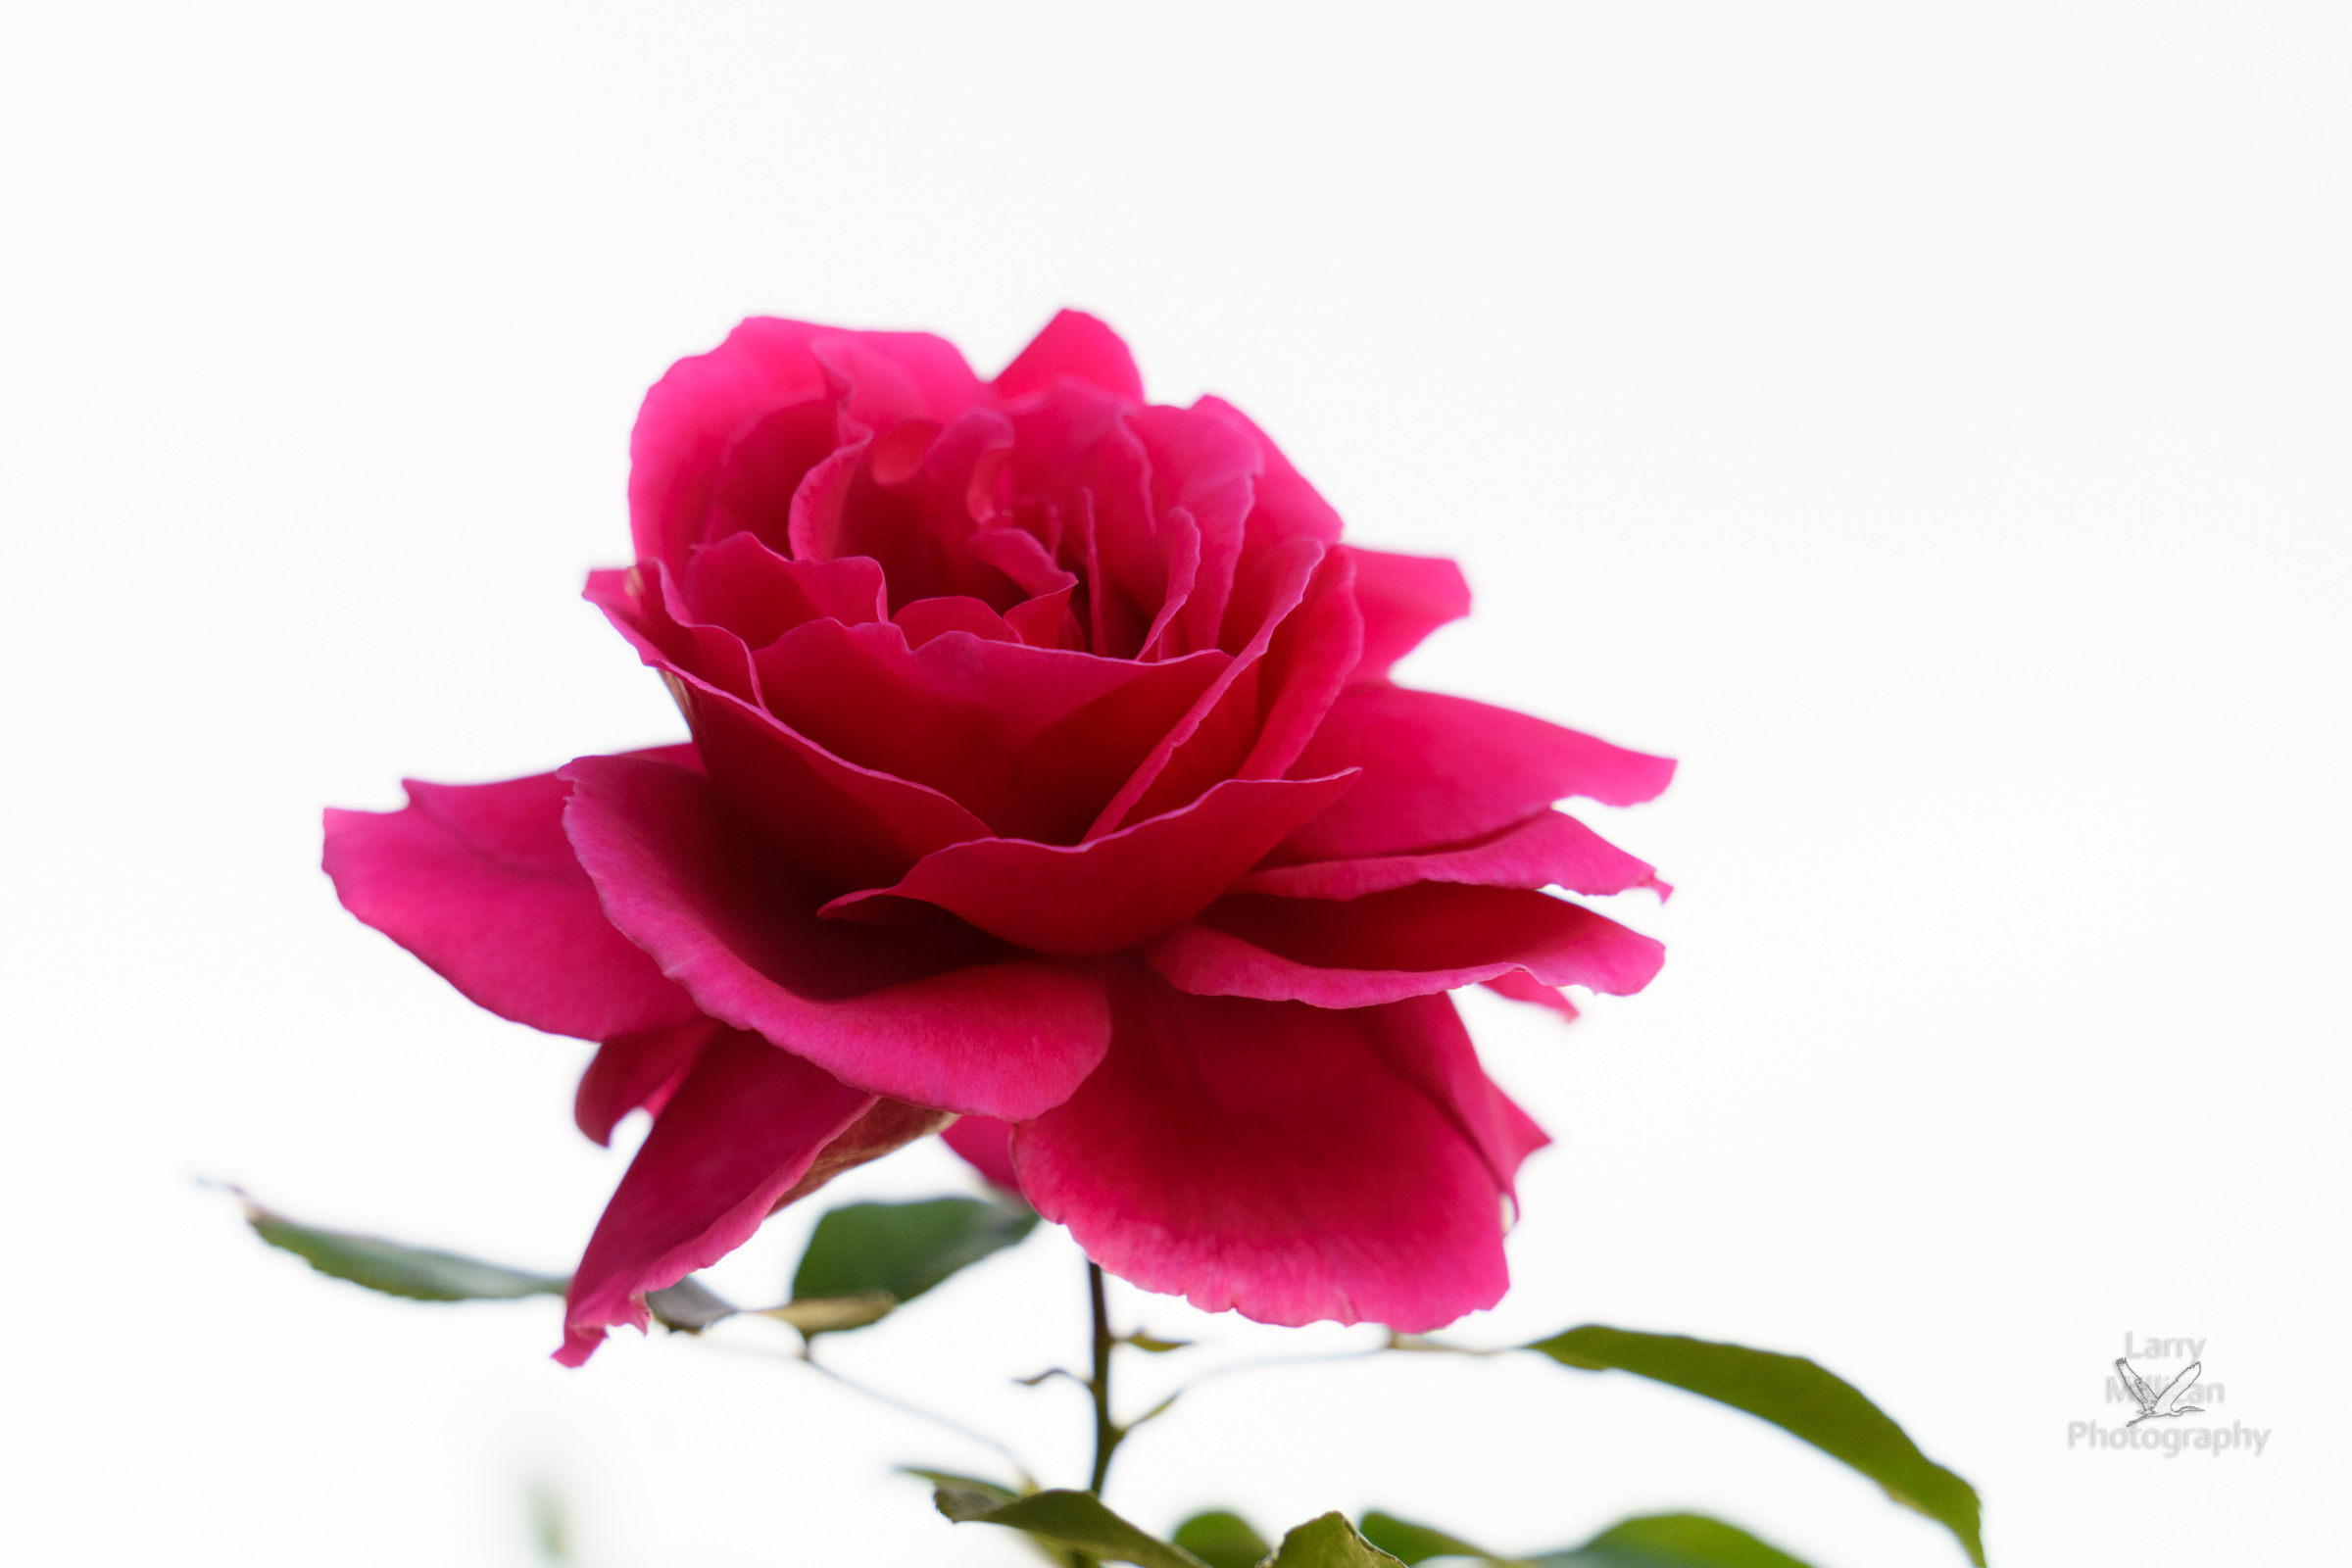
Full-frame camera; 28-200 zoom lens set to 156mm; f5.6, 1/250 sec; ISO 800
#10. July: Sharon at Bookish in Fort Smith
Sharon has published 6 books, and yes, I am proud! 🙂 On occasion, she gets the chance to talk about her books, and to sign copies for her readers…
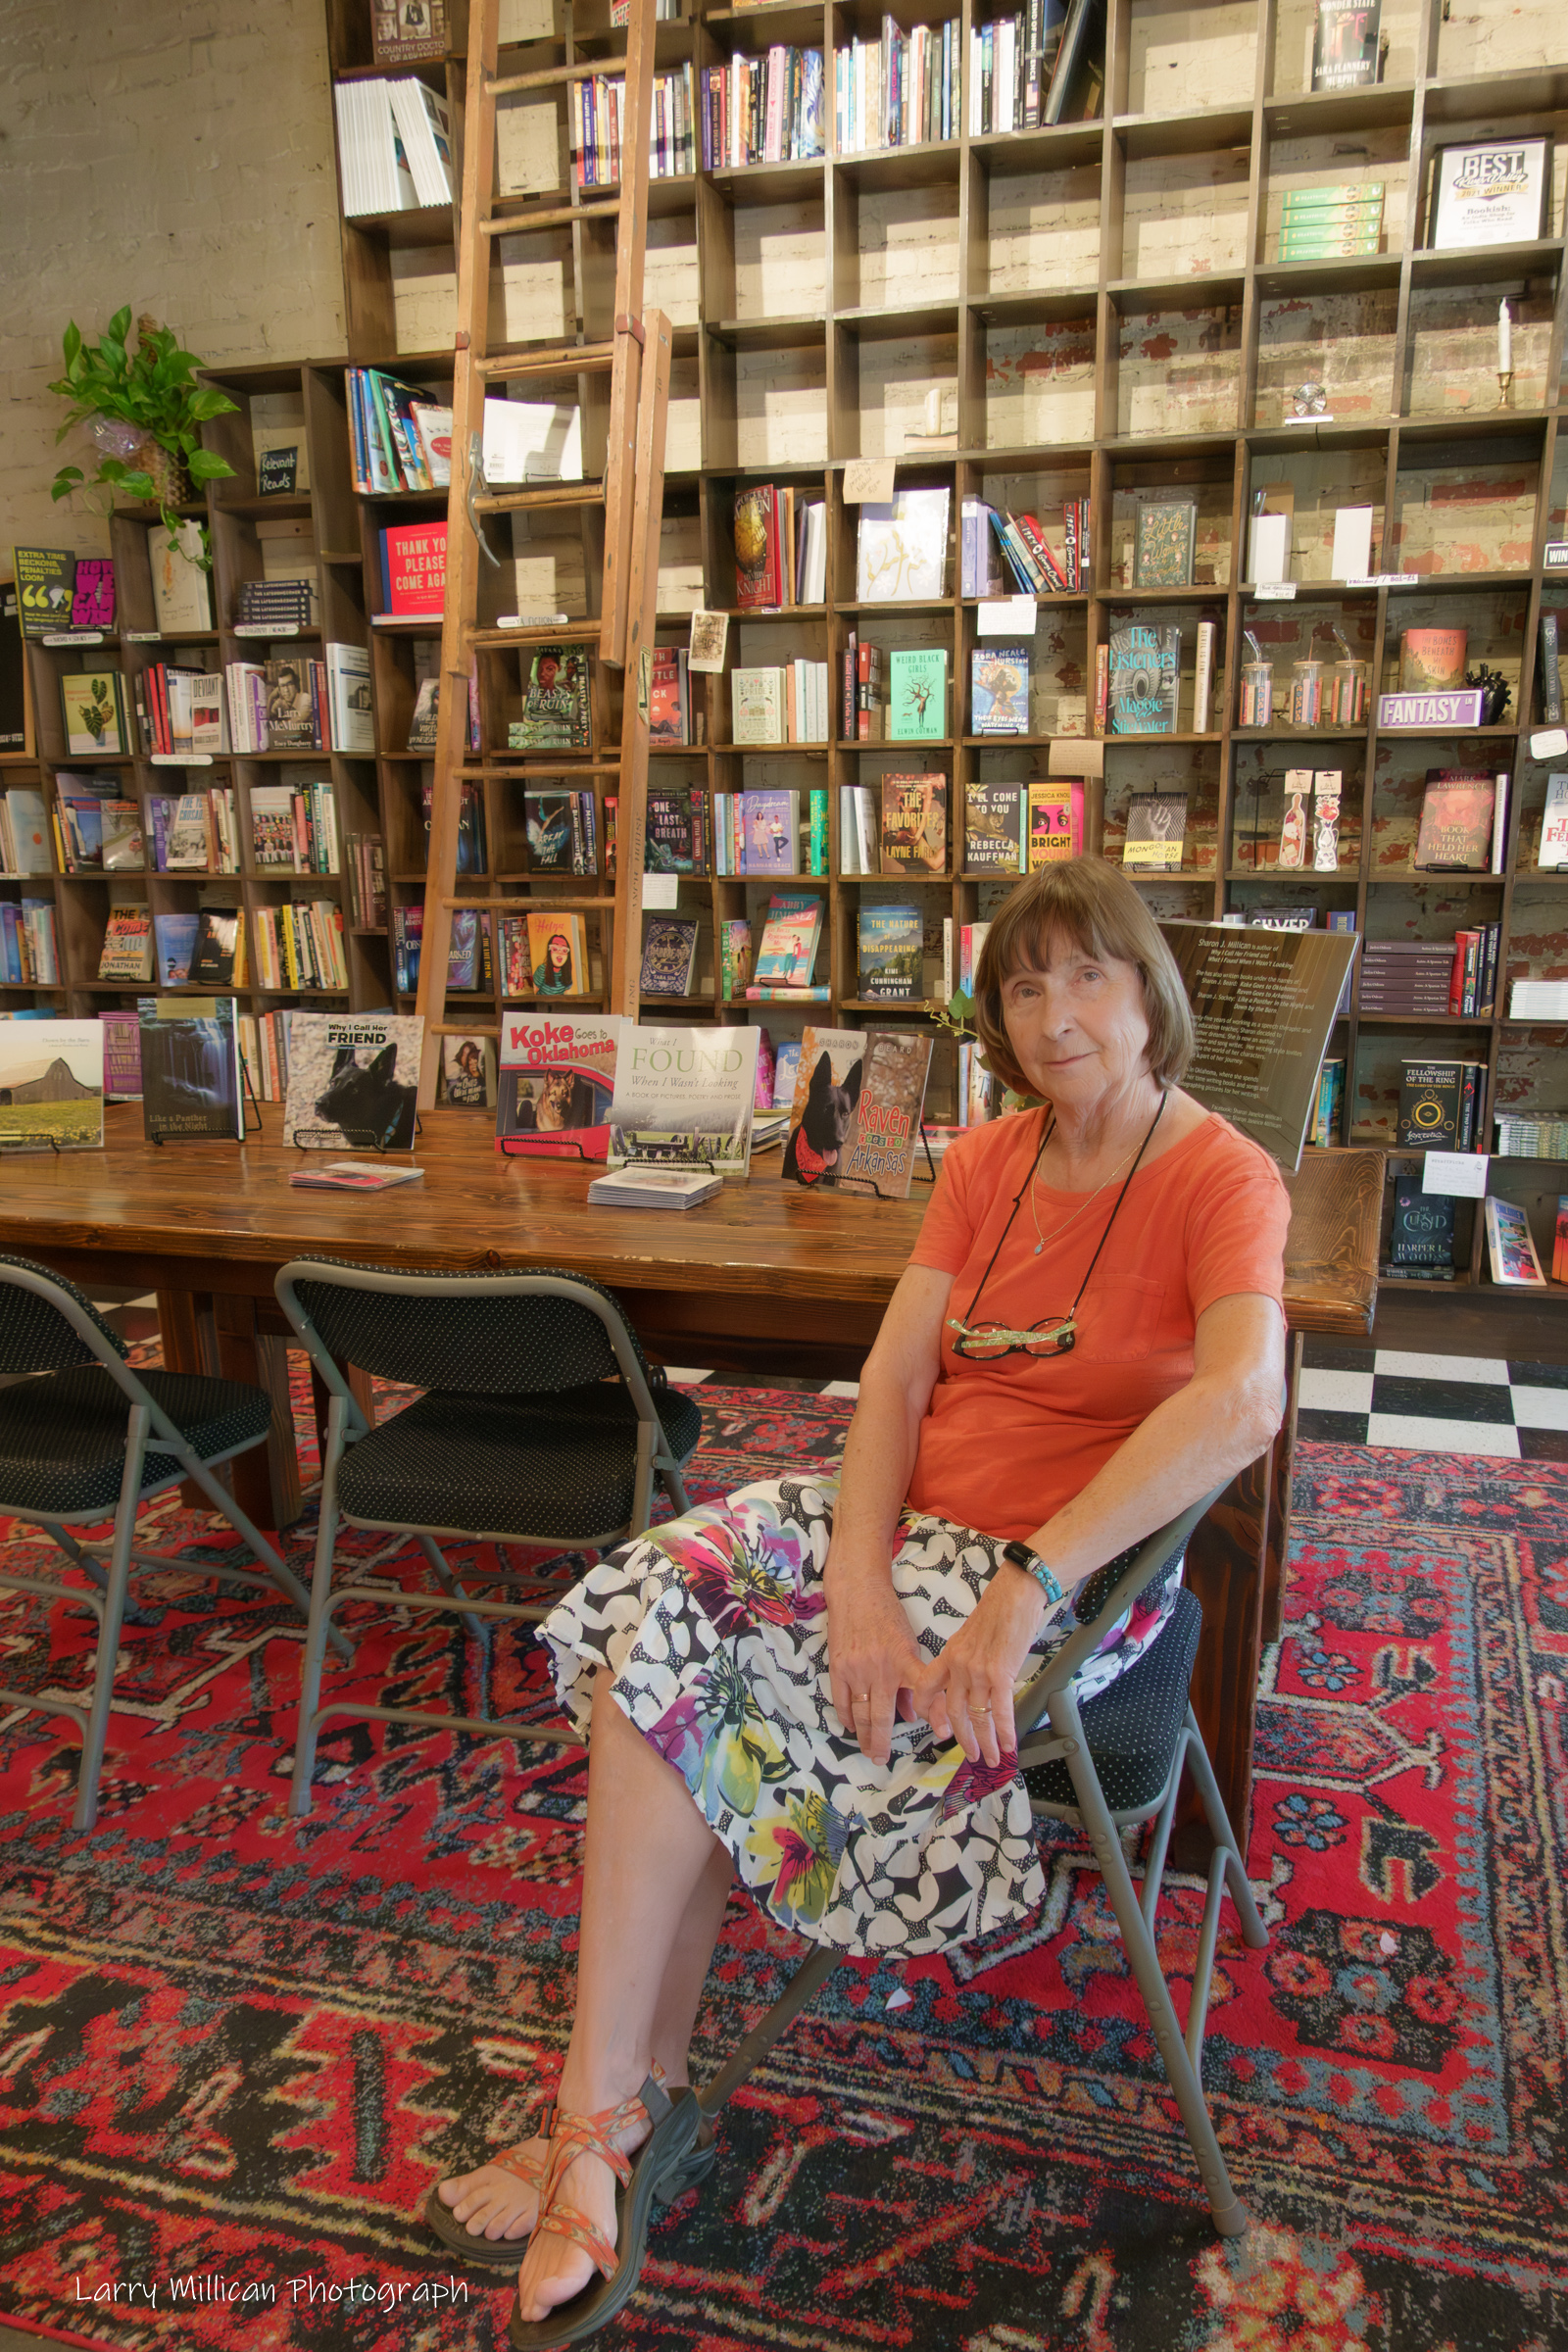
Sony RX100 Mark 7 compact camera; 24-200 equivalent lens at 24mm; 1/60 sec; ISO 2000
_______________________________________________________
I hope you enjoyed the photos. Each photo made me happy when I pressed the shutter, and while they may not all be the best, each photo has a story, and memories…
Have a Great 2026, my friends!!