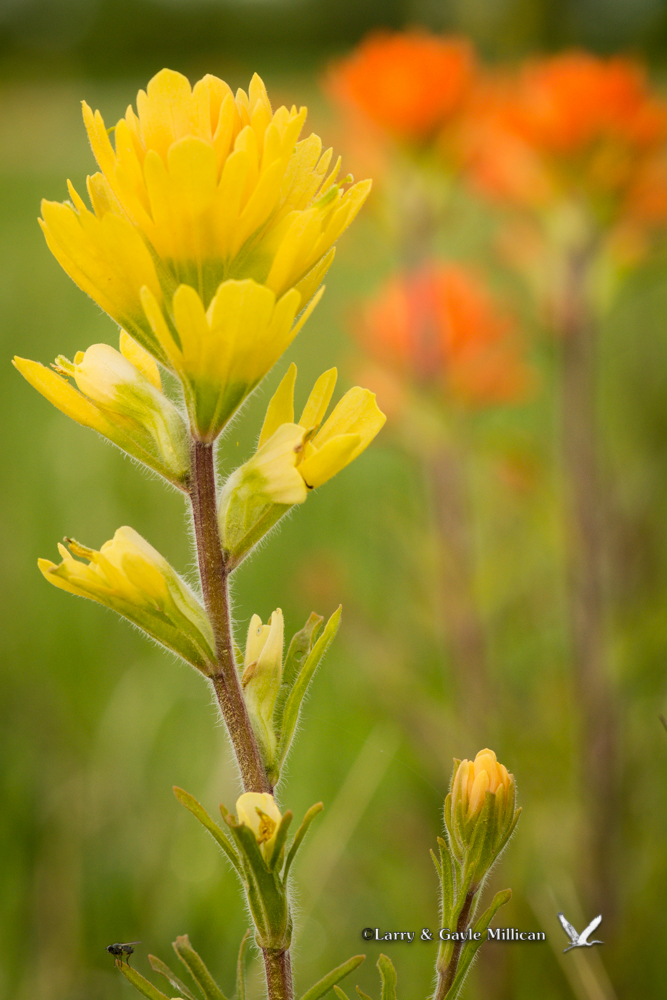
Paintbrush Reflections
Image 00842, date 2007
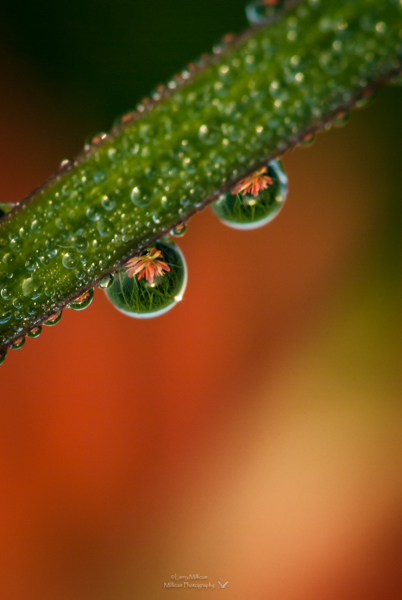
Years ago, I saw my first image of water drops refracting a background flower, probably in Outdoor Photographer magazine. I was fascinated, and began the pursuit of my own water drop reflection photos…
Occasionally, I am asked if the photos are real or if I created them in the computer. Signs of the times, I guess. These are 100% “real.” The water drops are from dew, occasionally rain, and the reflected image (“refracted”, actually) is just as I saw it.
This morning was bright, sunny, and humid at Cherokee Prairie Natural Area, but with a slight breeze, so I needed to keep the shutter speed up and still shoot at f/16. However, the photo was dark – very underexposed. I either misread the meter’s suggestion or ignored it, or the camera erred, and underexposed the image. The problem probably was not the camera. So, I adjusted exposure and made another photo, then moved on to another composition.
Later, in post-processing, when I looked on the computer, that second photo was blurred – that pesky breeze. My first thought was that I had blown the shot; one was blurry, and the other was underexposed. And, I had only made 2 photos…

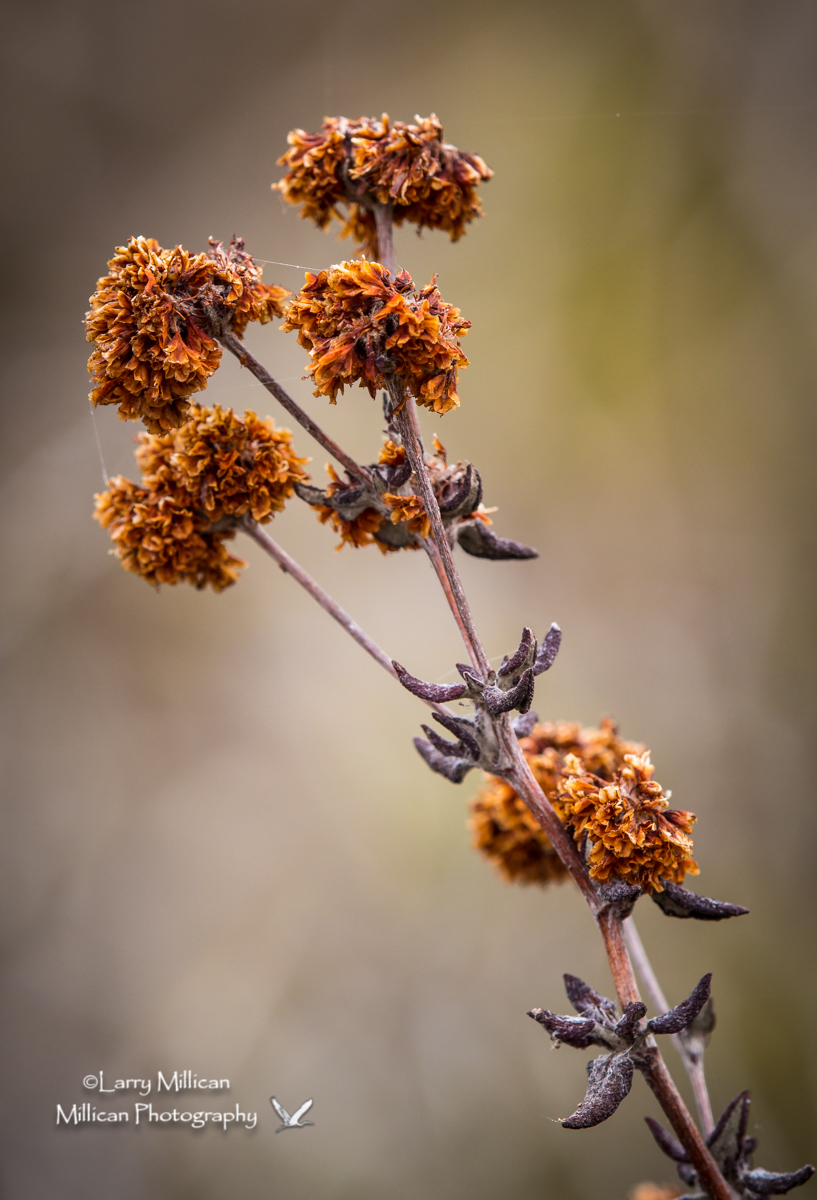
original image, unedited
I opened the first image, the dark one, in PaintShop Pro and increased overall exposure of the RAW file by two stops. It was amazing – the Sony .ARW image was beautiful! It held up really well to being lightened. (For comparison, I tried the same adjustment on the camera’s jpeg version, and it was not pretty…) I have always shot RAW ever since.
Over the years, I have made a good number of water drop photos like this, but “Paintbrush Reflections” is still one of my favorites. Just the same, I look forward to wildflower season, and more attempts to make the perfect image.
May we all continue to look for great light!